

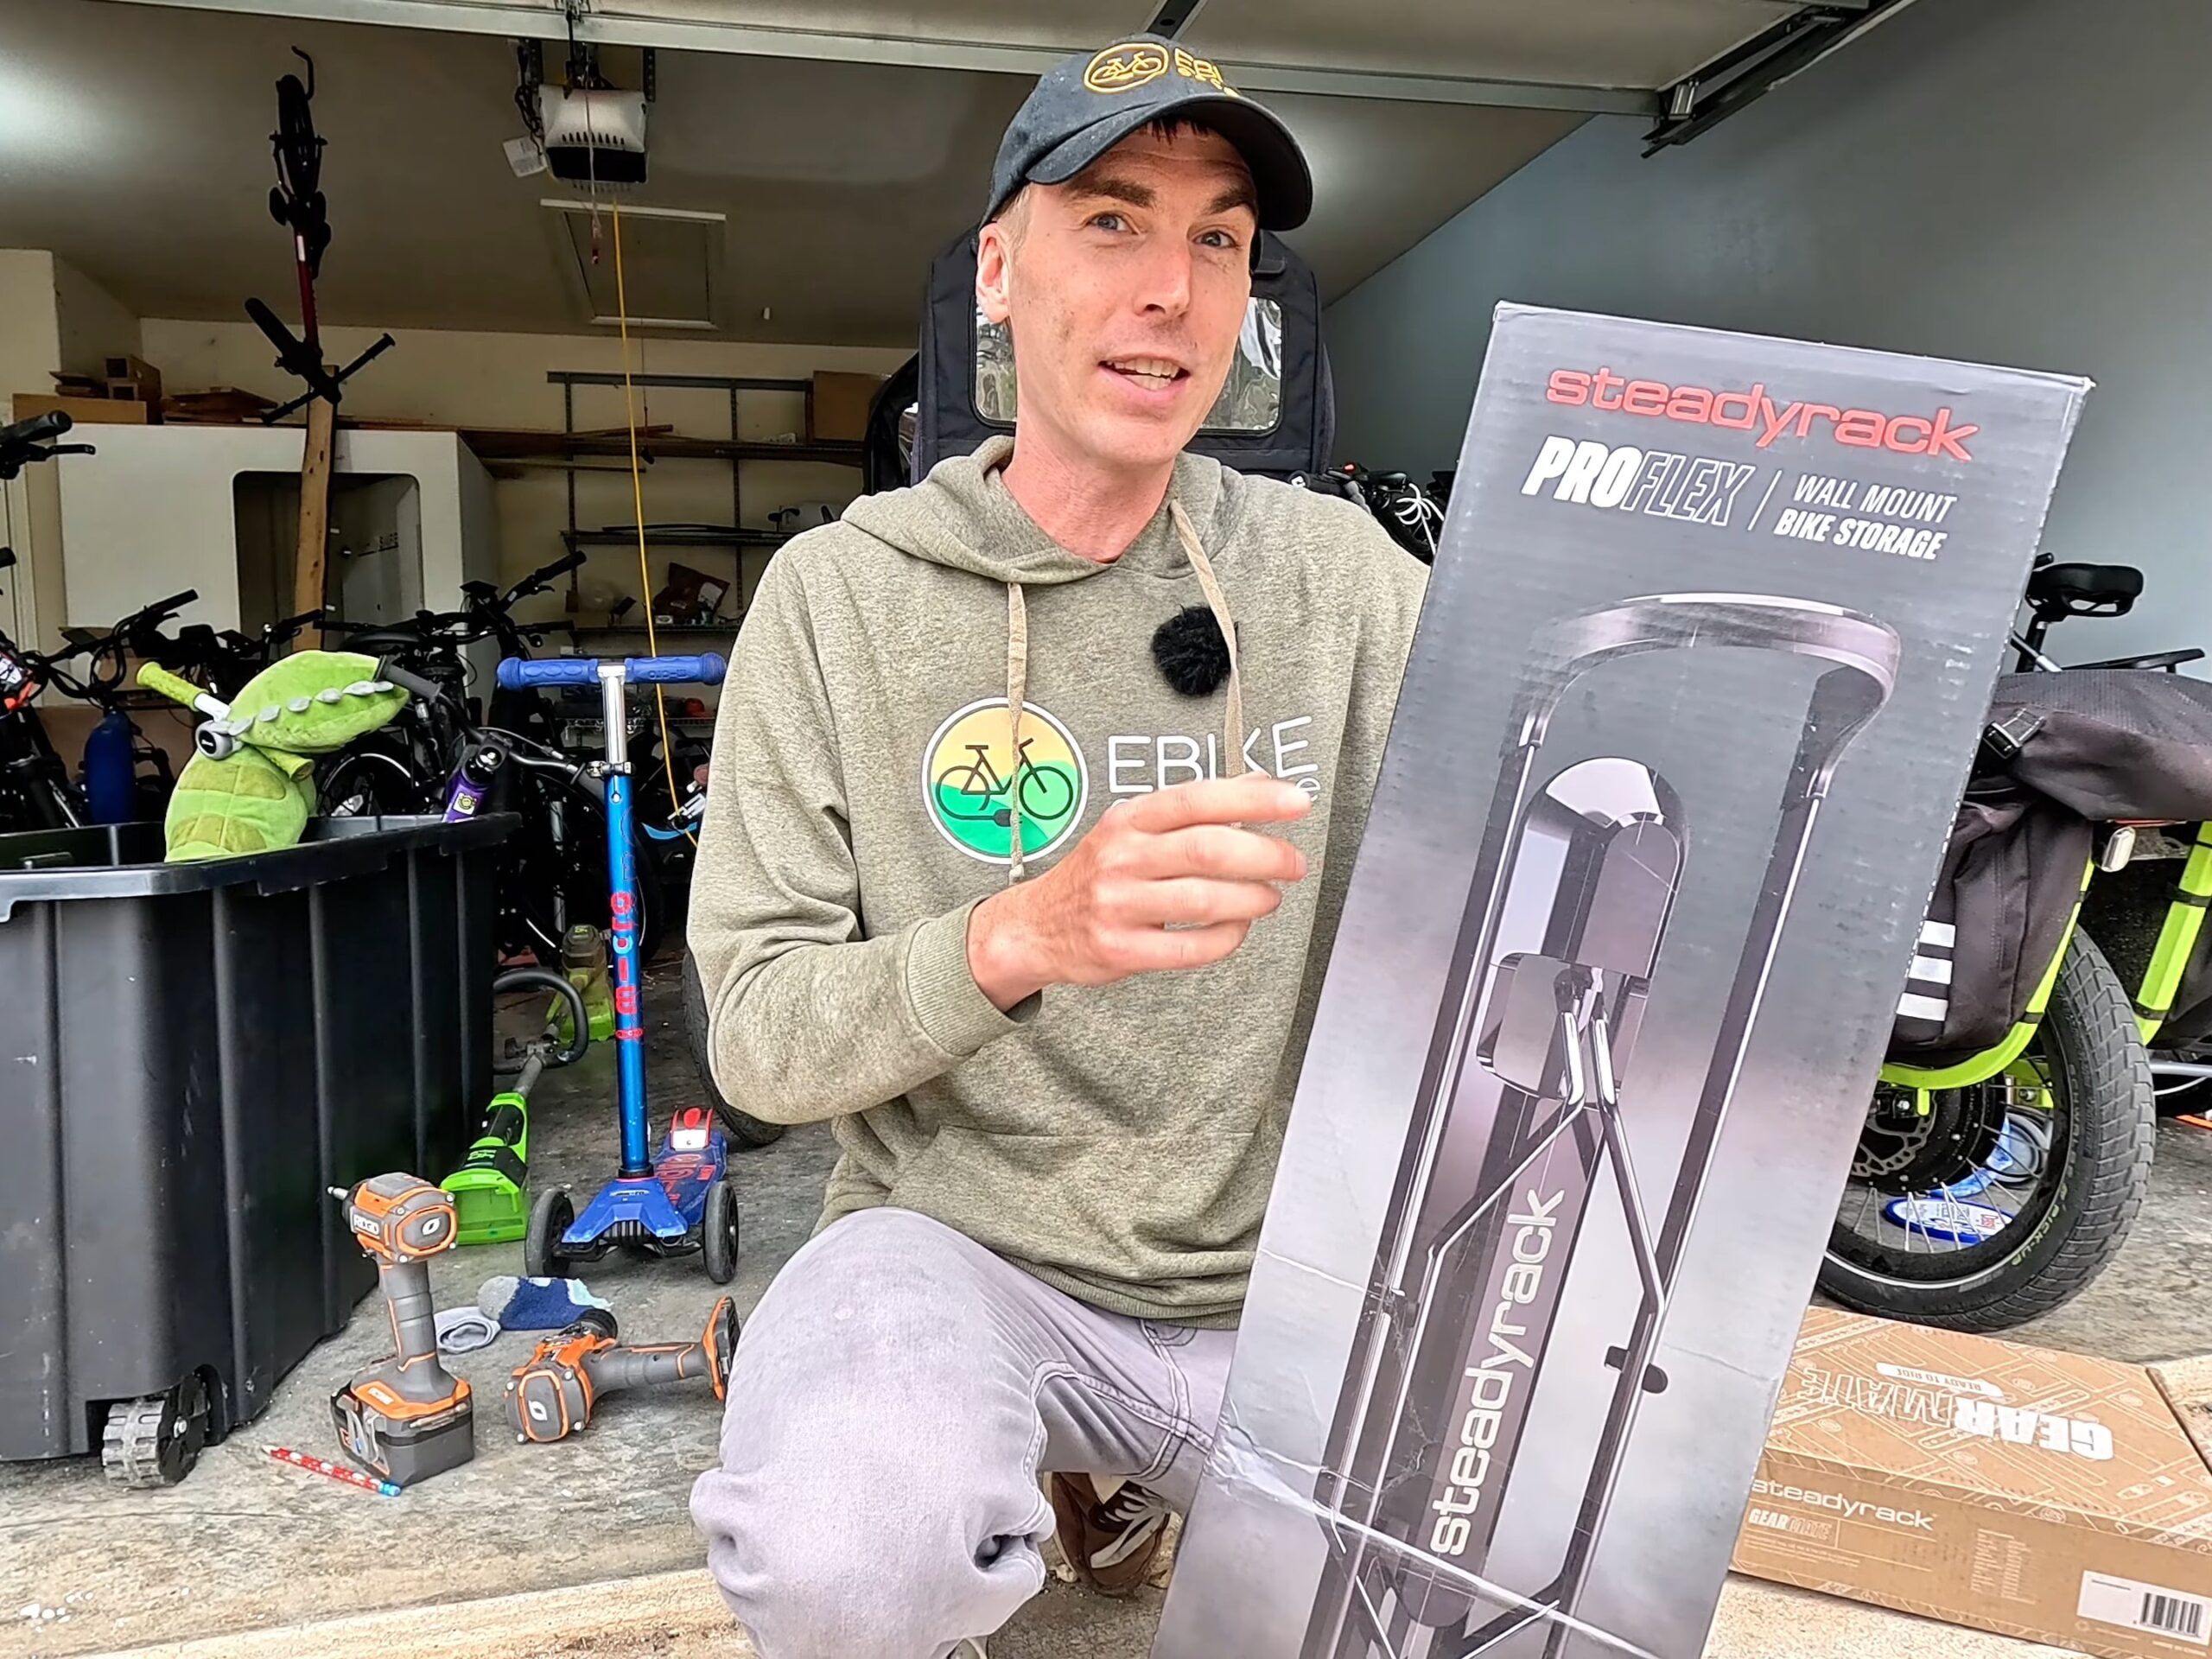
Garage chaos is a problem we have brought on ourselves. Between testing a constant rotation of electric bikes and raising three kids, the floor space in our garage disappeared a long time ago. Vertical storage has been the fix here since almost the beginning of Ebike Escape, so when Steadyrack released the ProFlex, we were interested for a specific reason: back in our original Steadyrack review the one thing we wanted was a fender compatible rack that could still handle the weight of an ebike. This Steadyrack ProFlex review covers ten racks installed on one wall, a few months of daily use, and the lessons learned along the way.
Steadyrack sent these racks out for us to test. Our take on them is our own.
Shopping for garage storage? Using our affiliate links for the Steadyrack ProFlex and the GearMate helps make reviews like this one possible. Thank you.
Steadyrack ProFlex YouTube Review | See It In Action!
Video is the easiest way to understand how a bike goes on and off one of these racks, so if you are on the fence about whether you can physically manage it, start there. Below we walk through the unboxing, the install on a freshly painted garage wall, all ten bikes hanging, and the GearMate accessory system.
Steadyrack ProFlex: What You Get
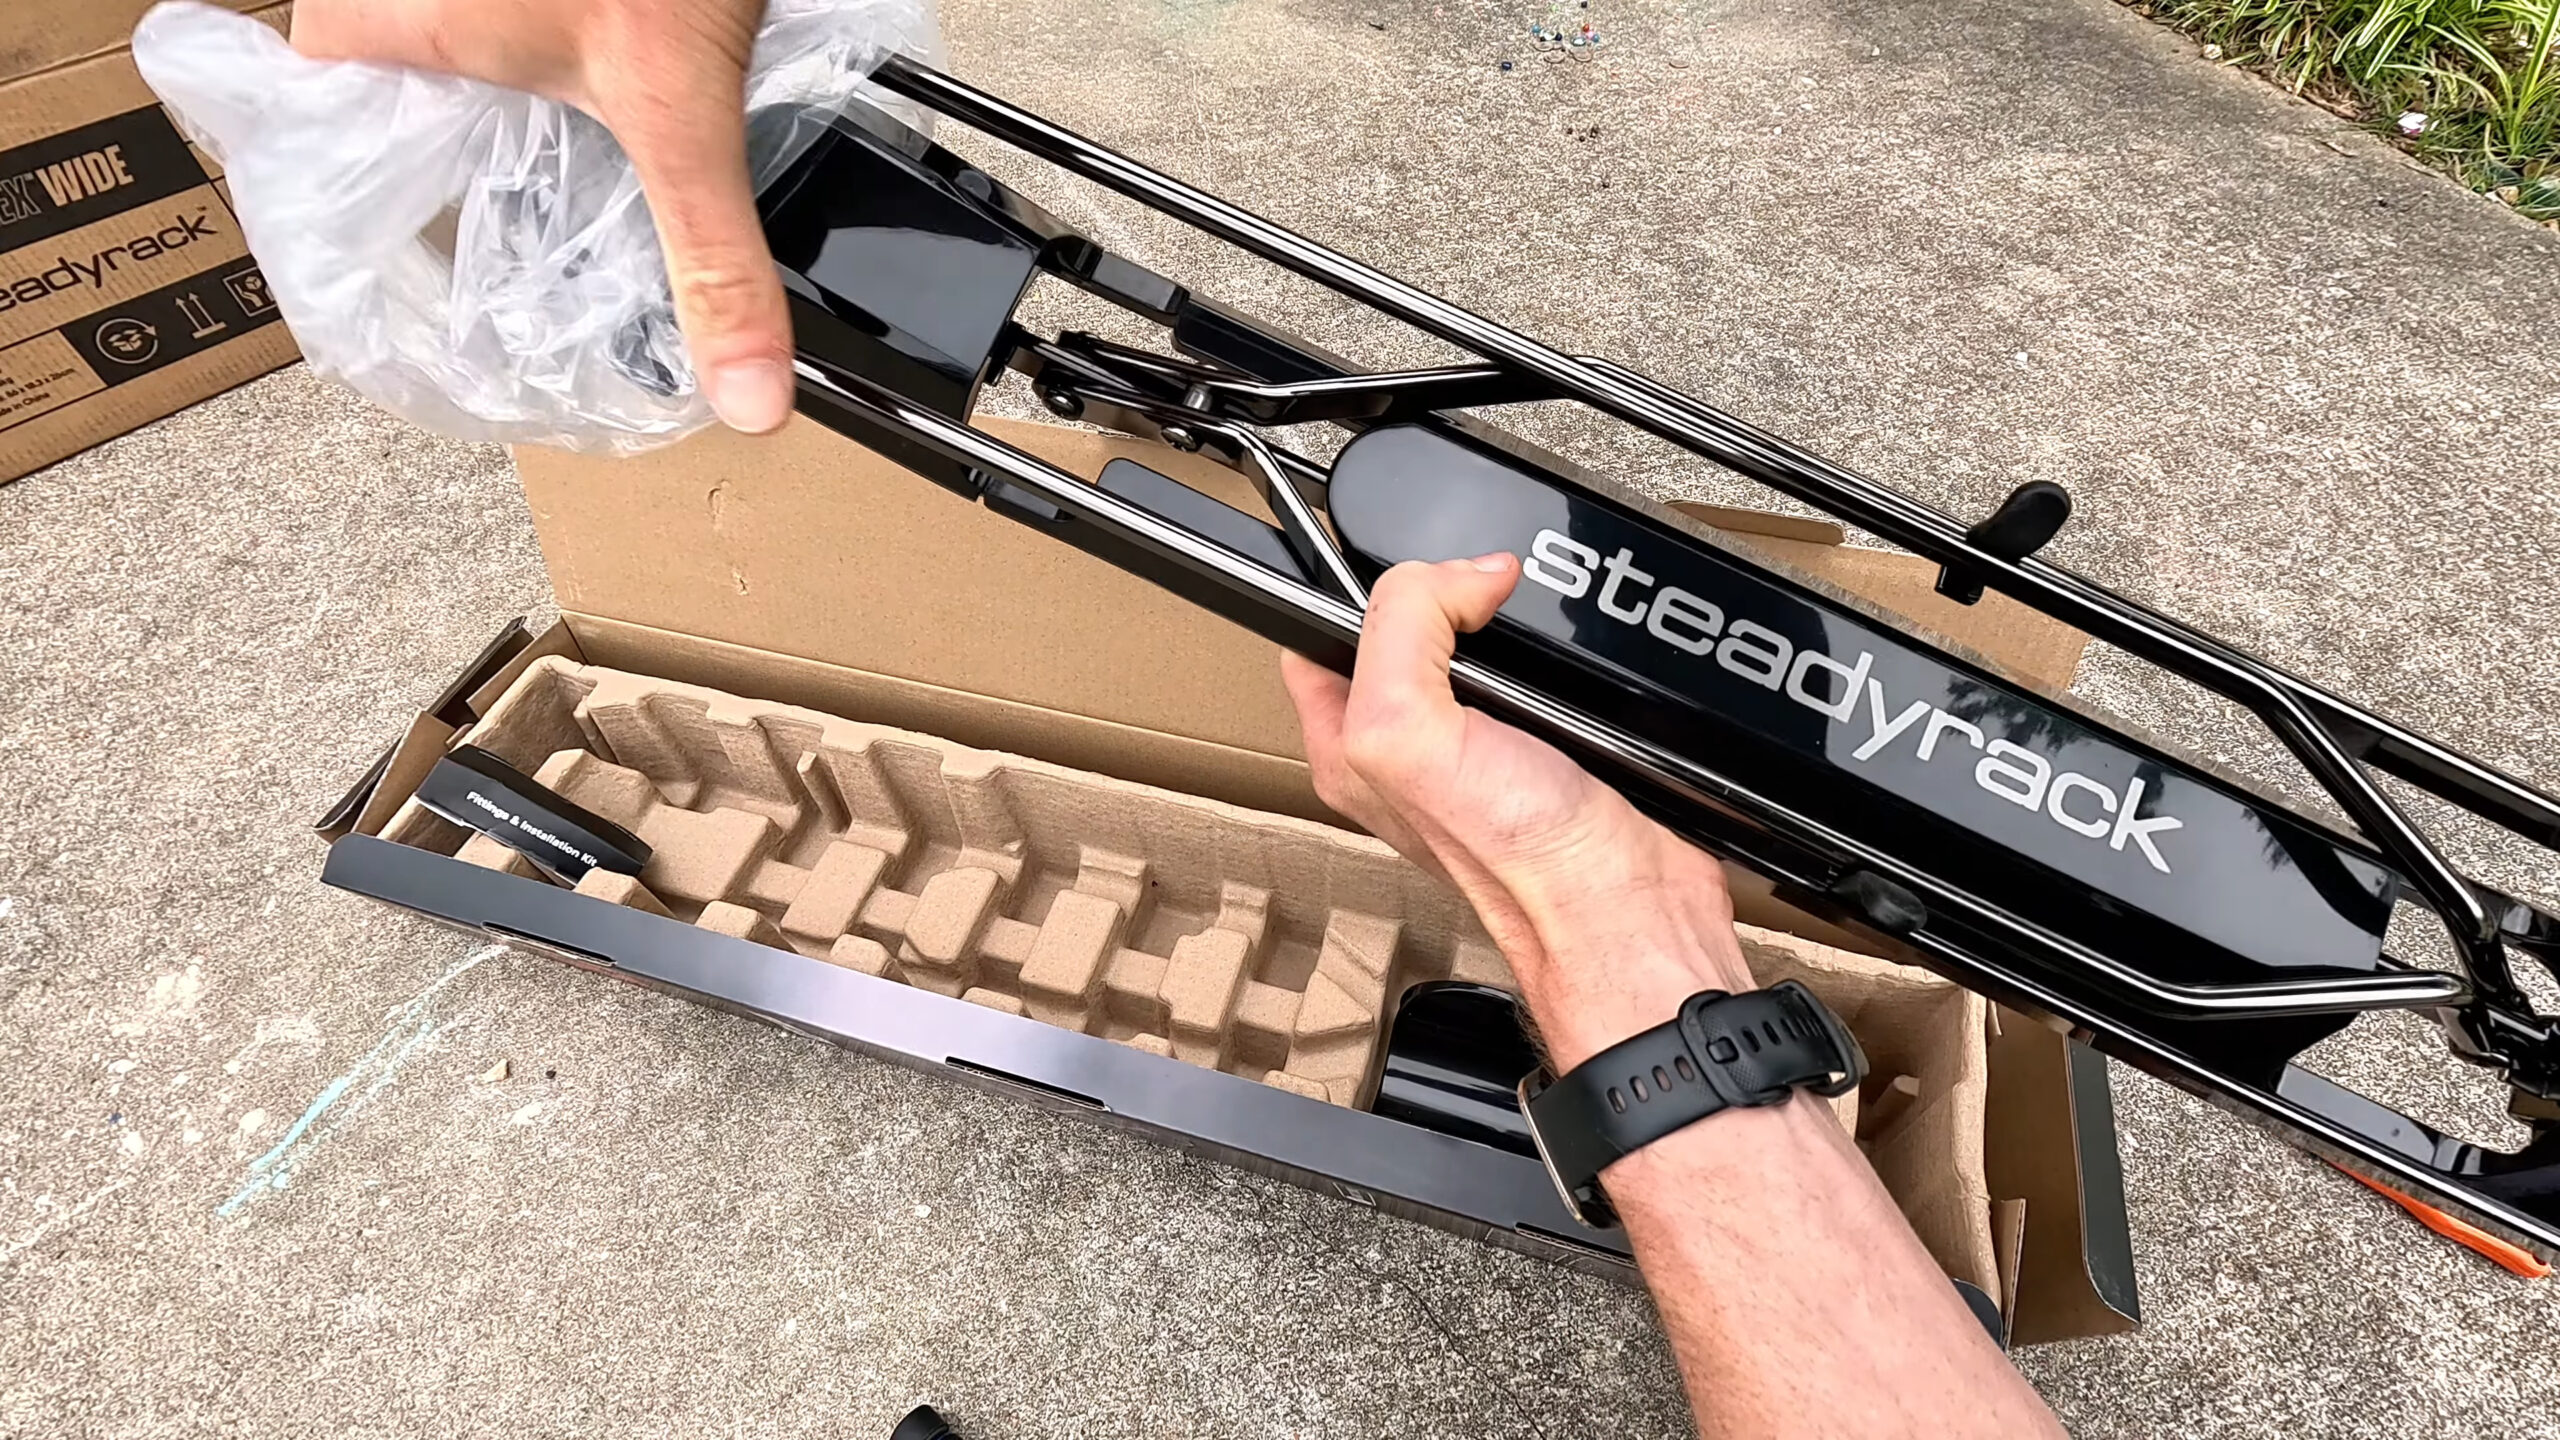
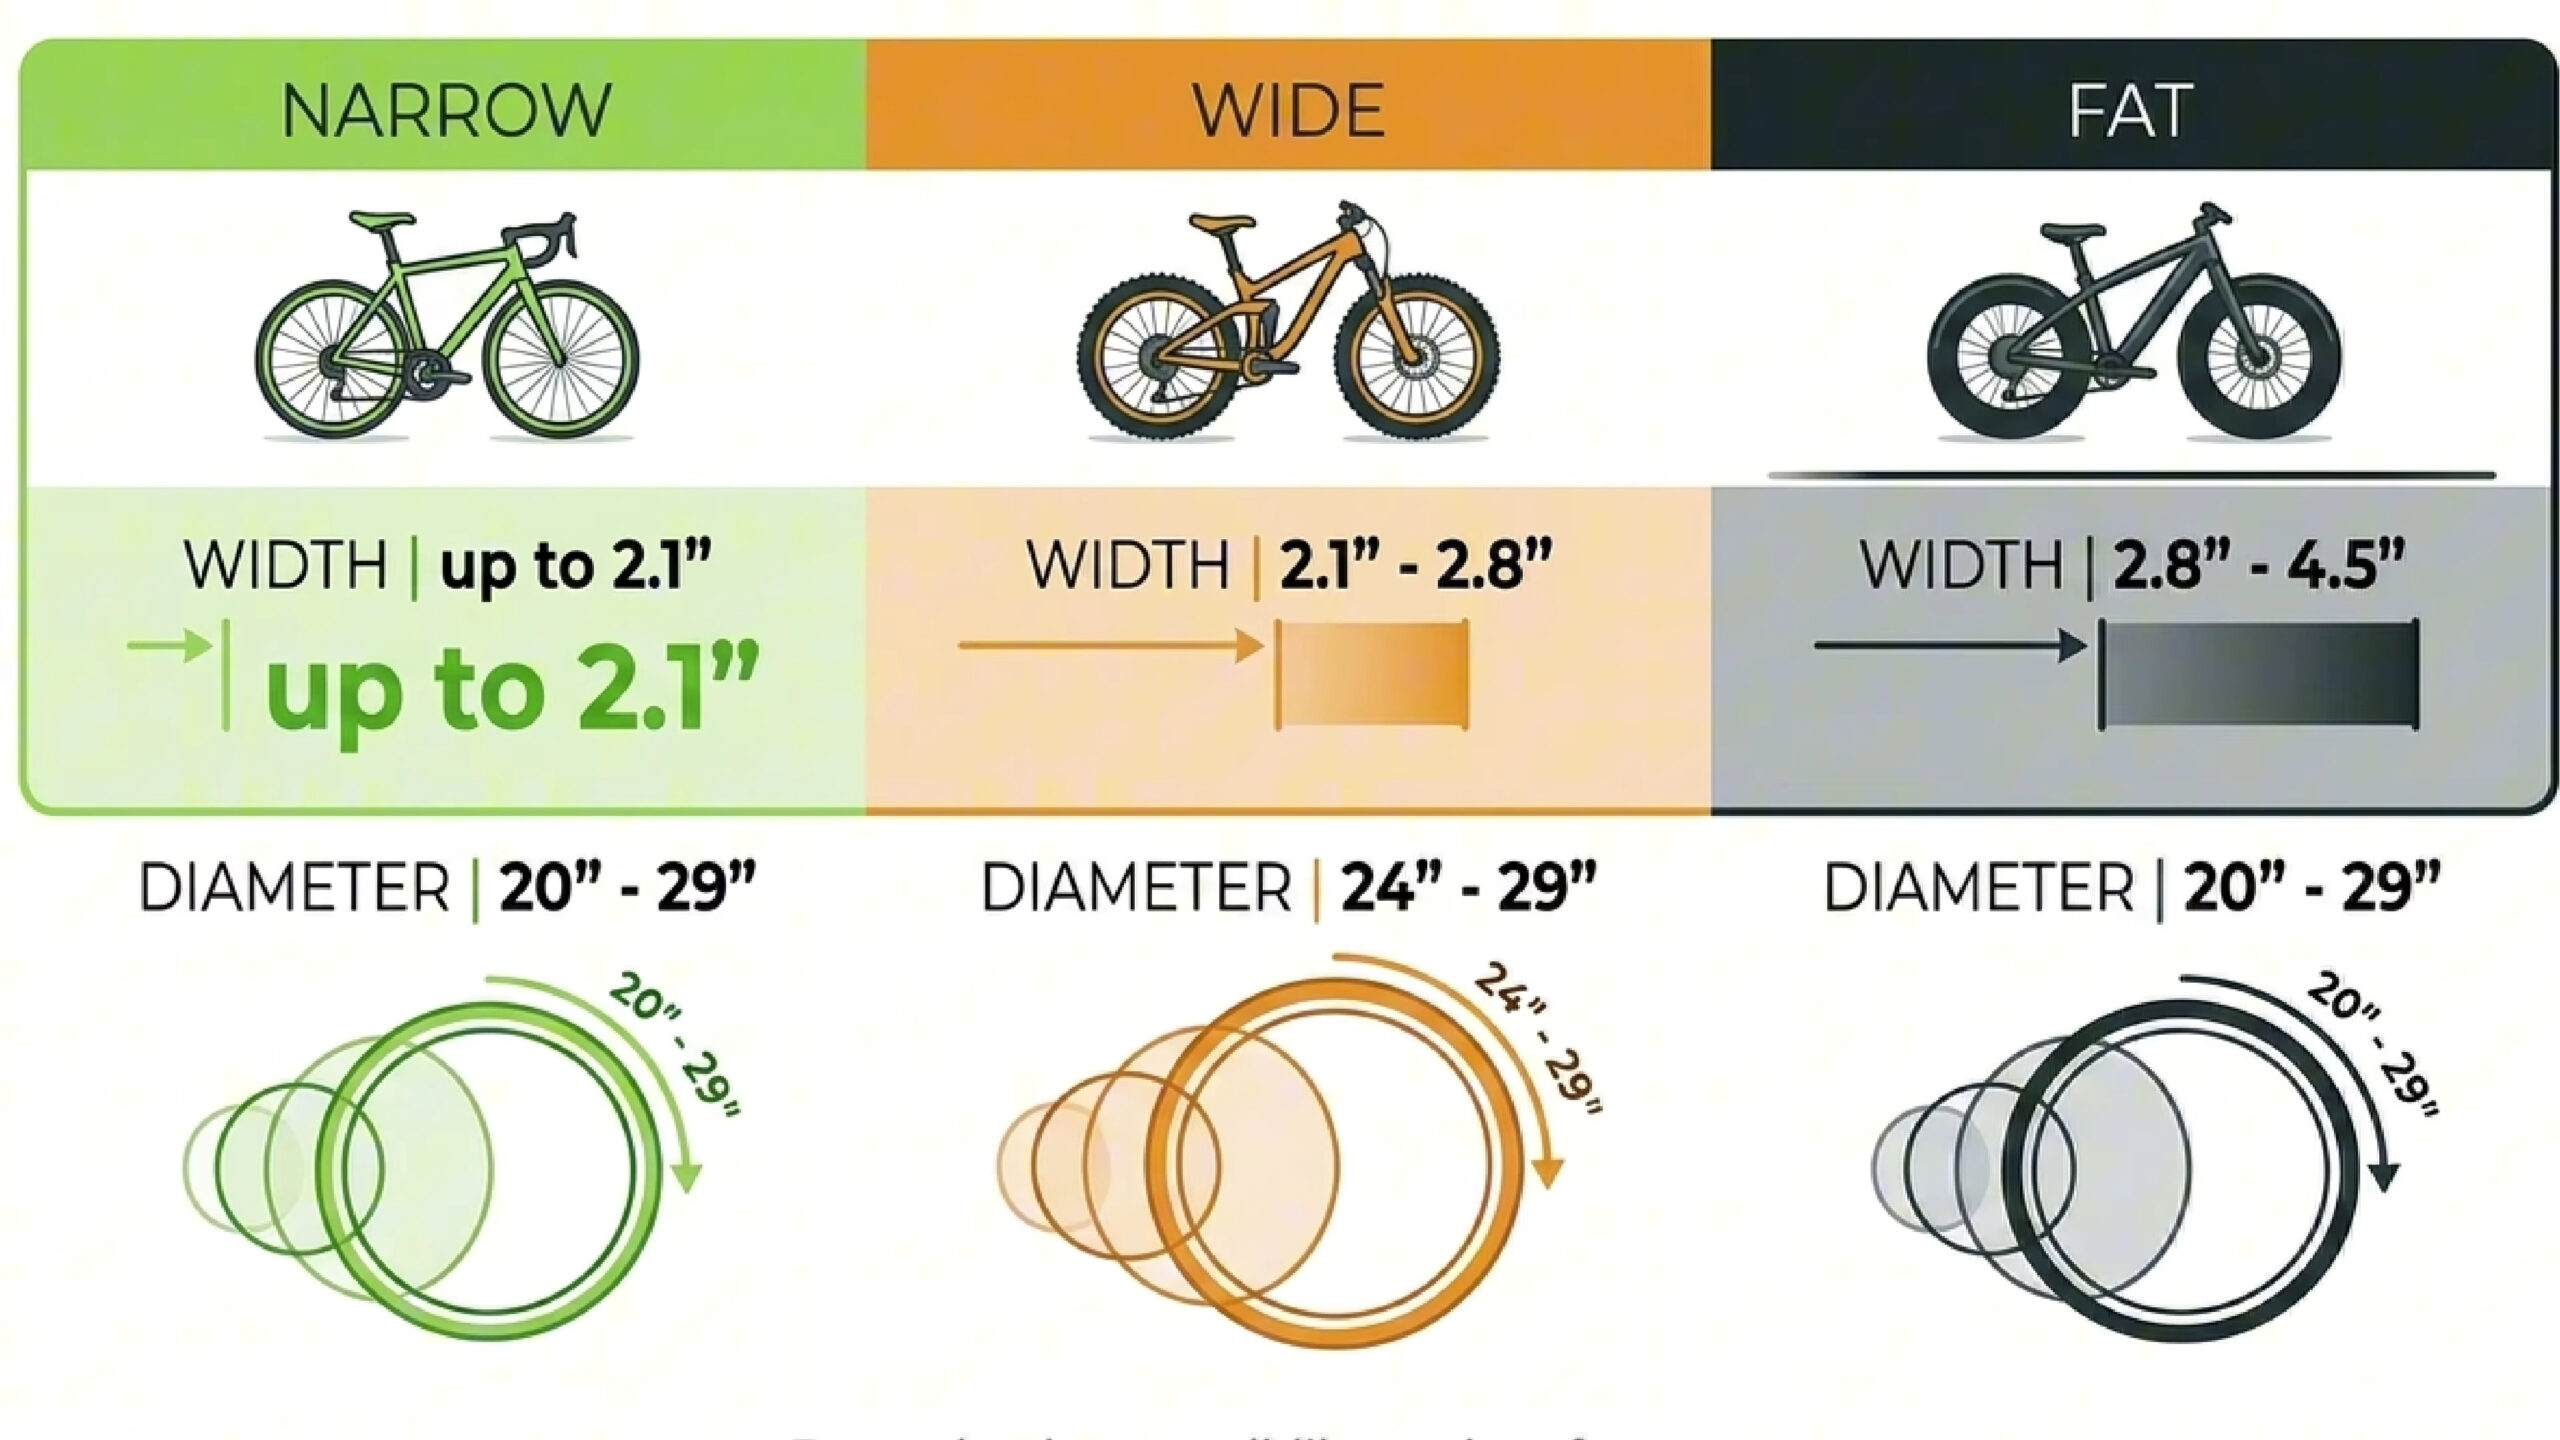
Three things make this range different from the older Steadyrack models. Each Steadyrack ProFlex rack is rated to 121 lbs, every size is fender compatible, and the whole range works with Steadyrack’s GearMate accessories. Sizes are Narrow, Wide, and Fat, and you pick based on your tire width rather than what kind of bike you ride. Pricing is $134.99 per rack, though we have seen these discounted, so it is worth checking for a sale before you buy a wall of them.
In the box
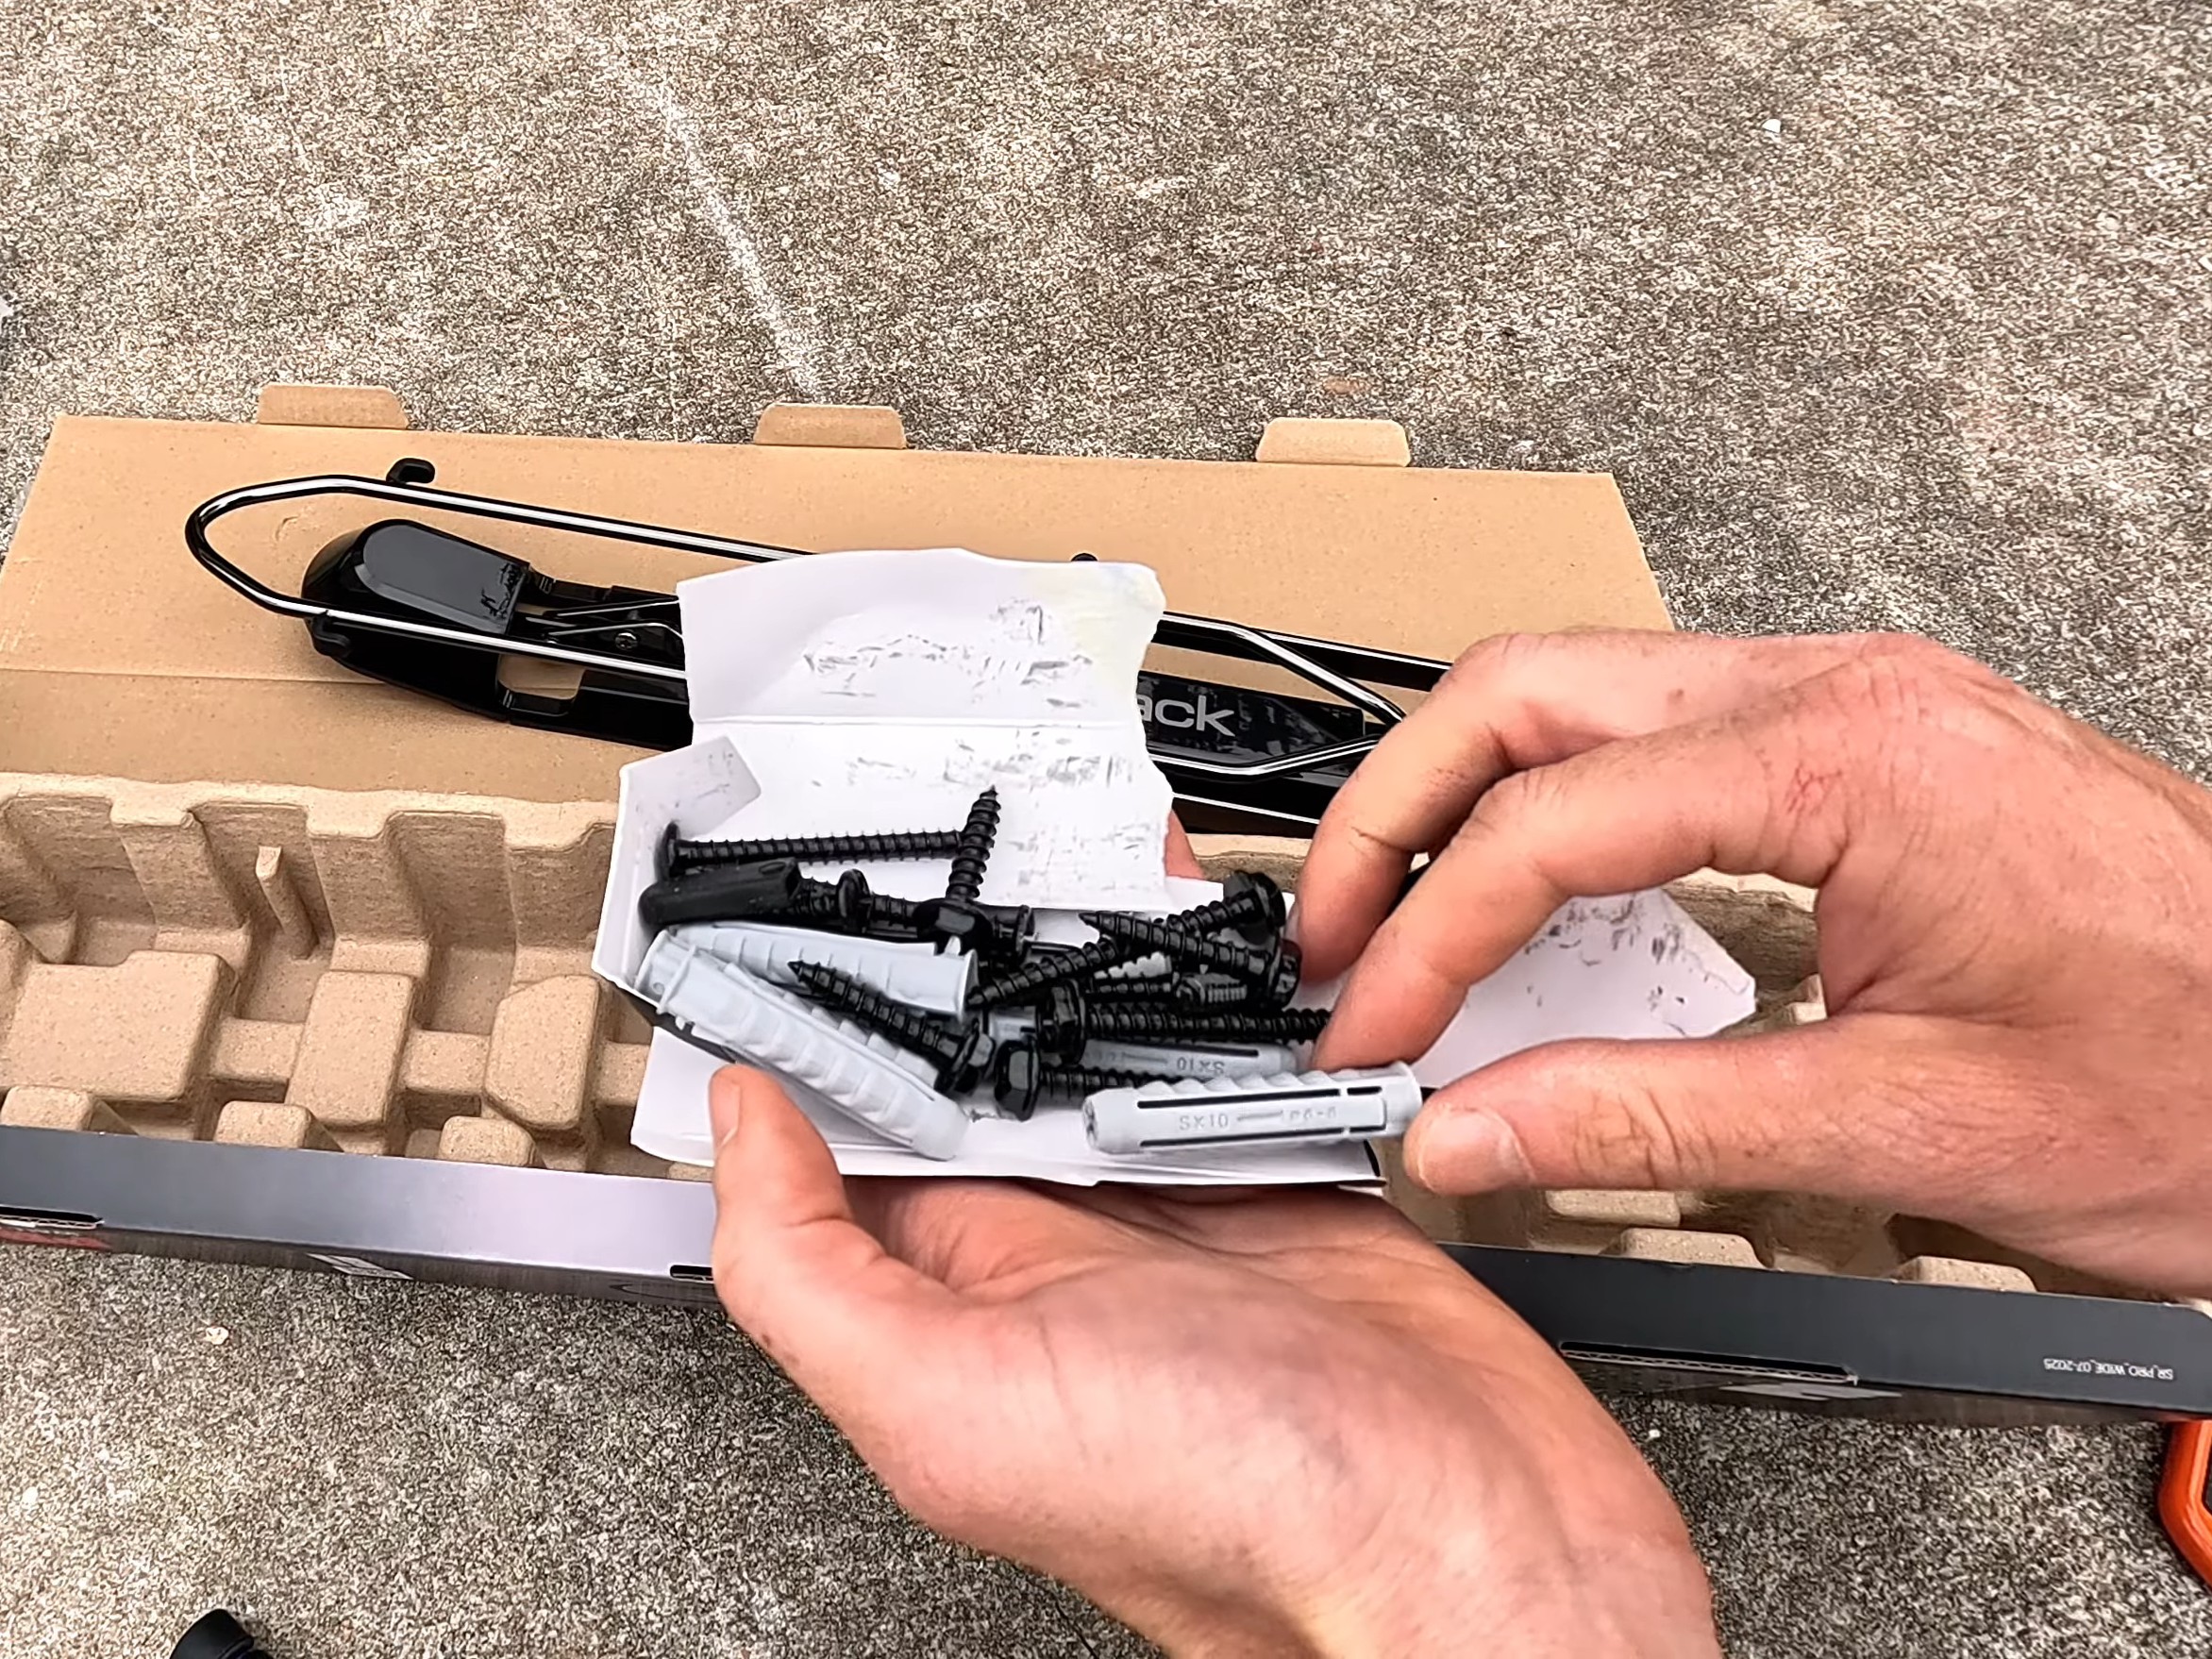
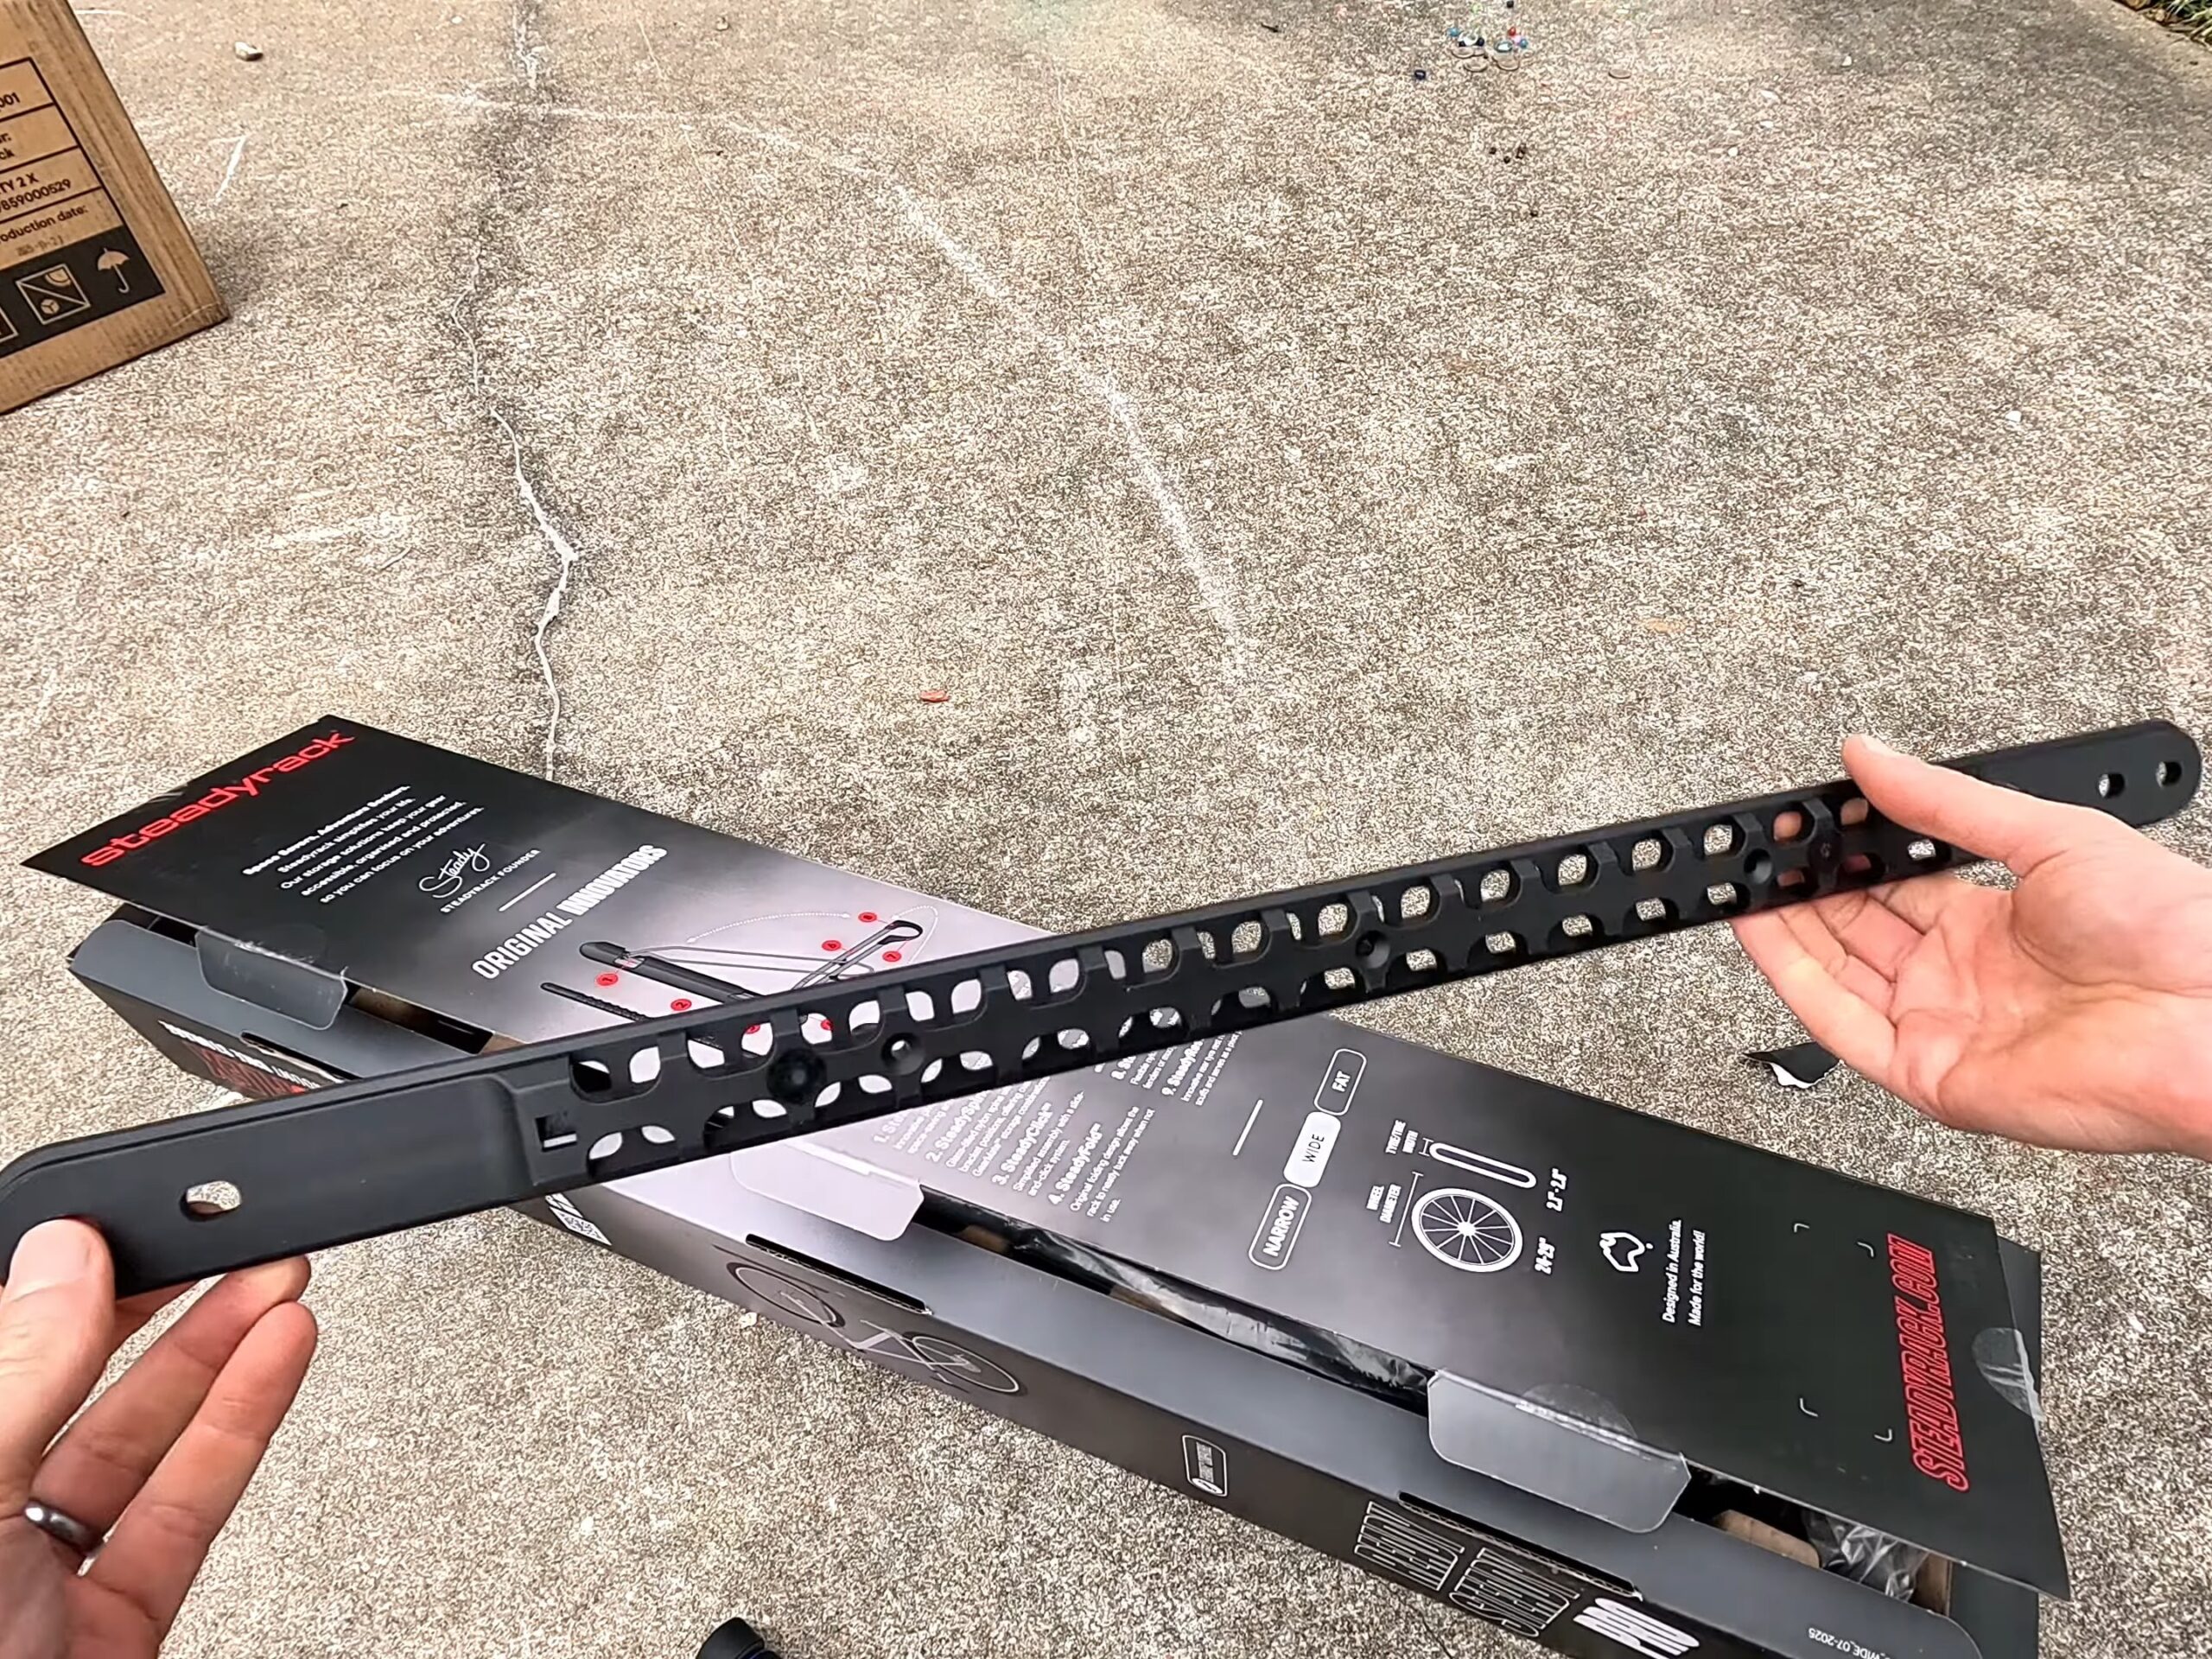
Along with the rack itself you get the SteadySpine, which is the backbone that the GearMate accessories clip onto and which tucks neatly in behind the top tire rack, a wall protector plate for the rear tire, and a fittings kit with hardware for both timber and masonry. Instructions are thorough. Fit and finish reads a step up from the older racks.
How the fender clearance works
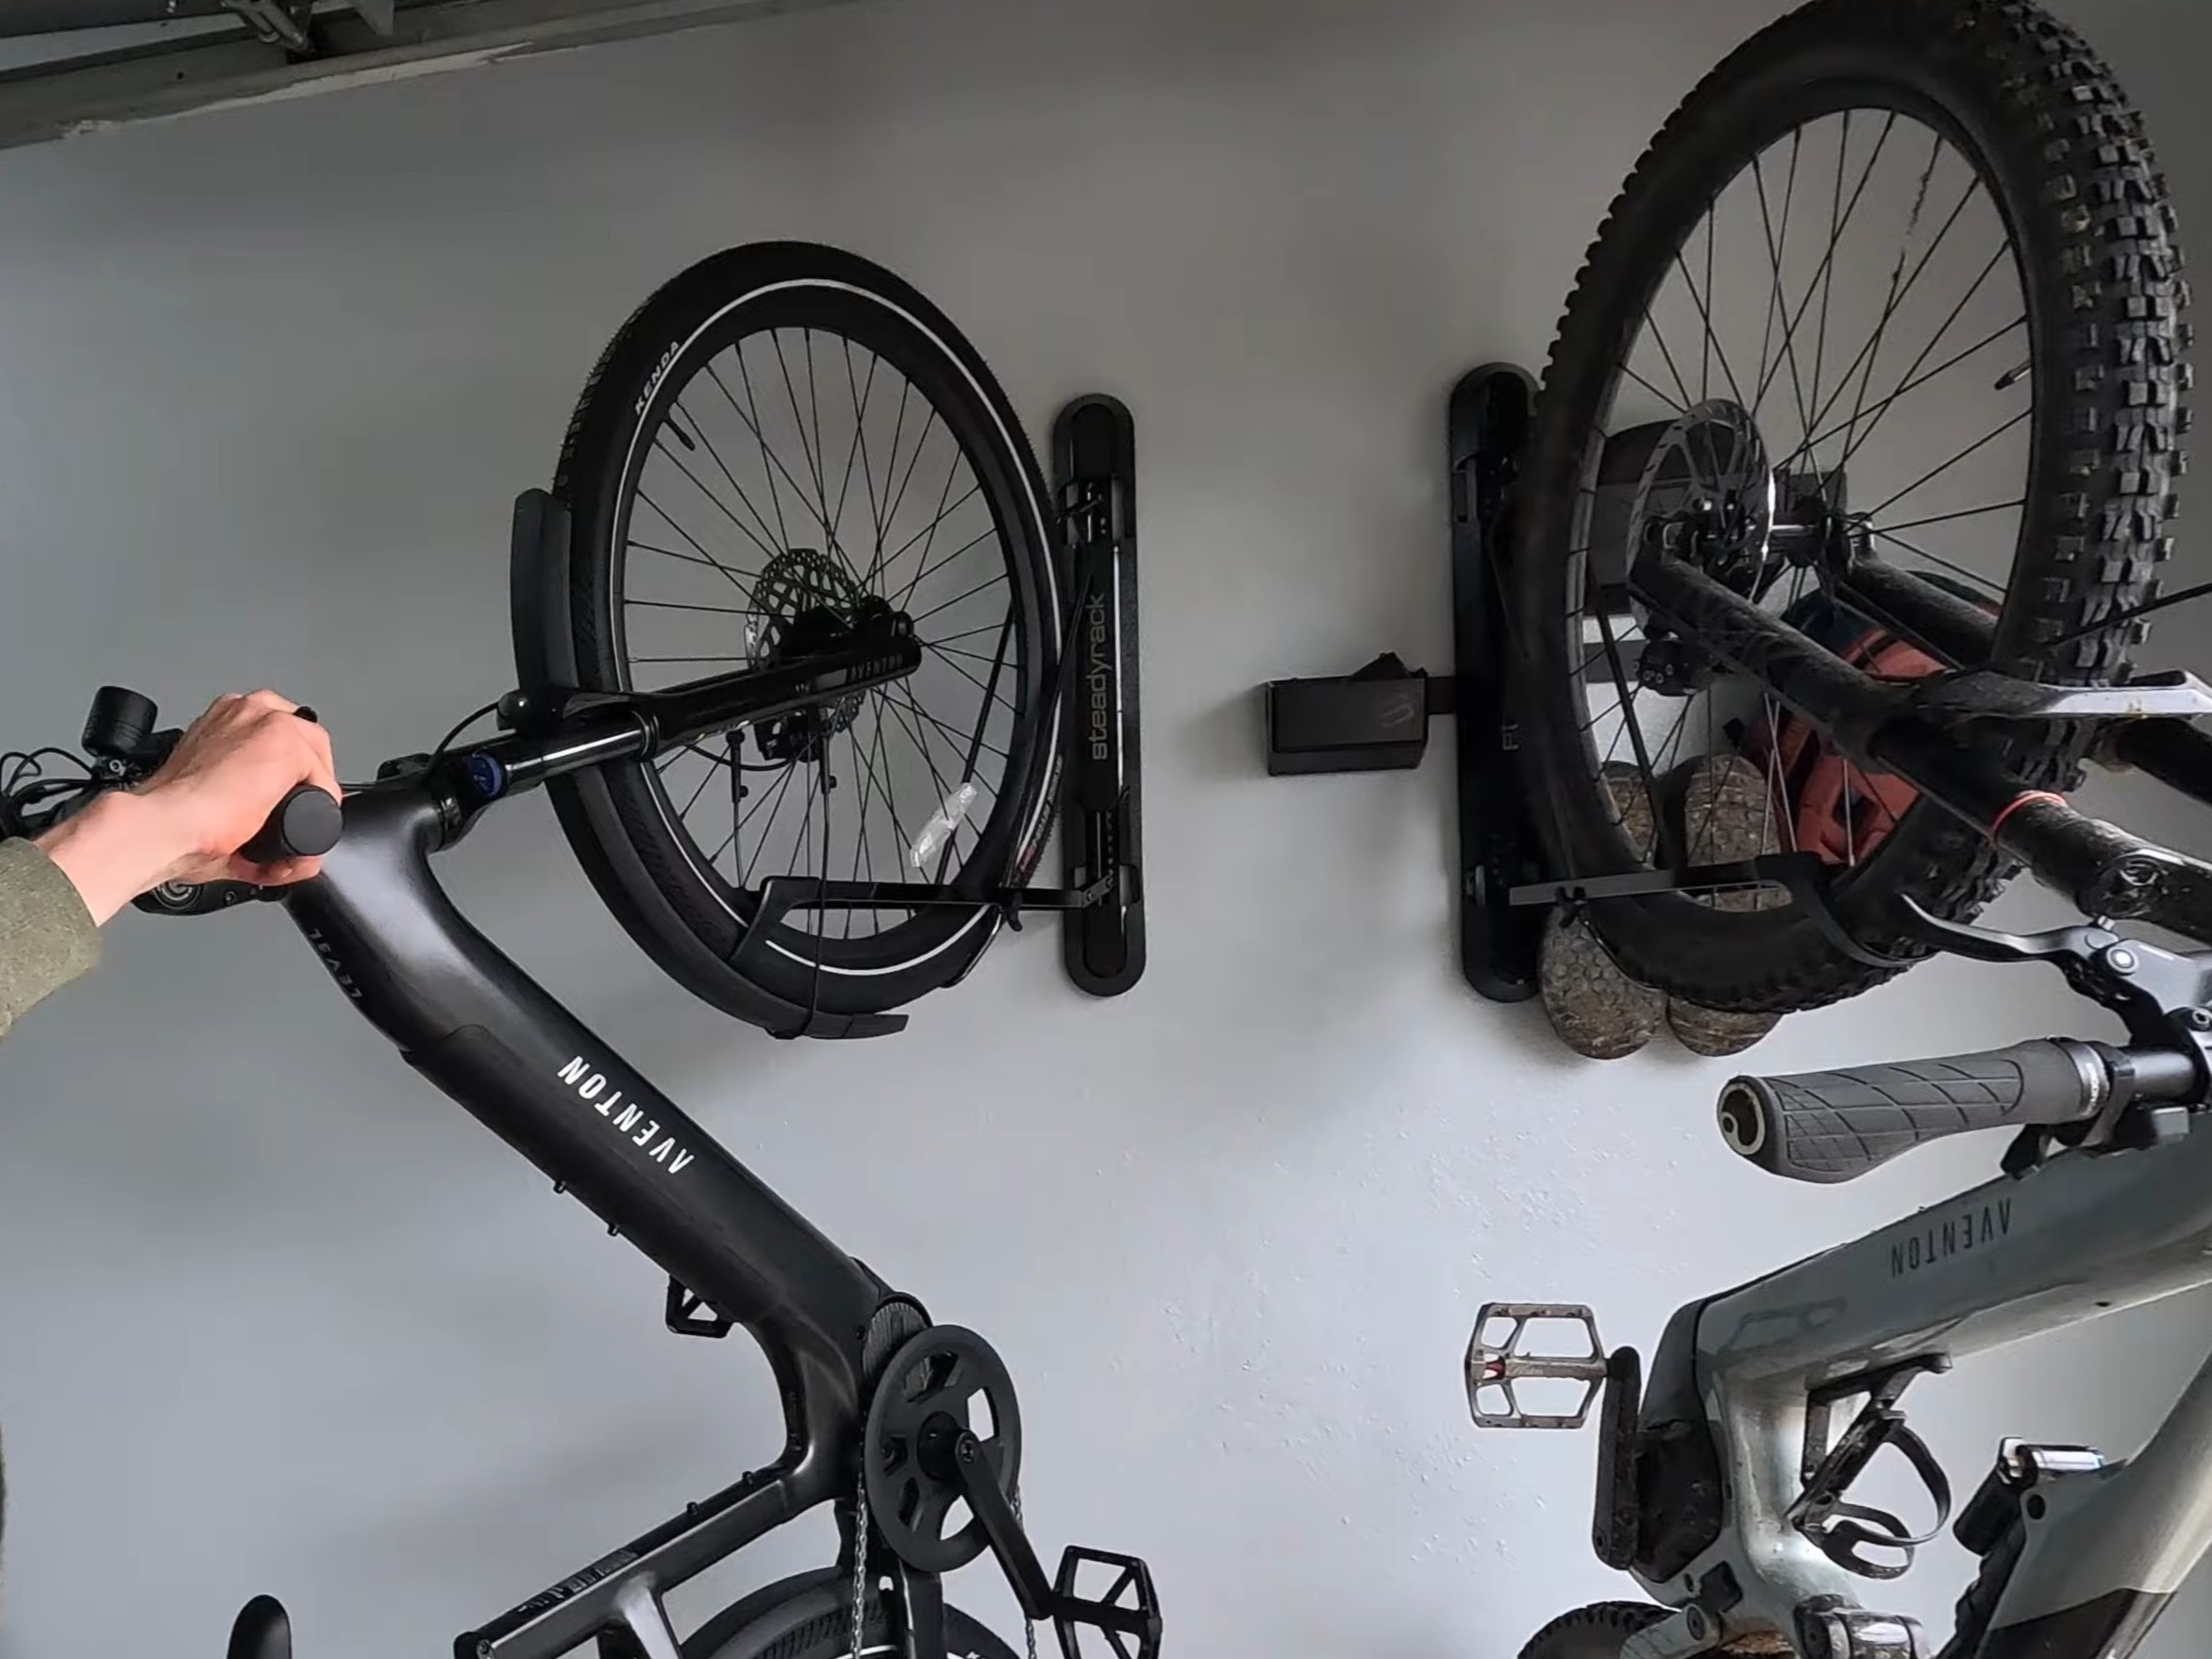
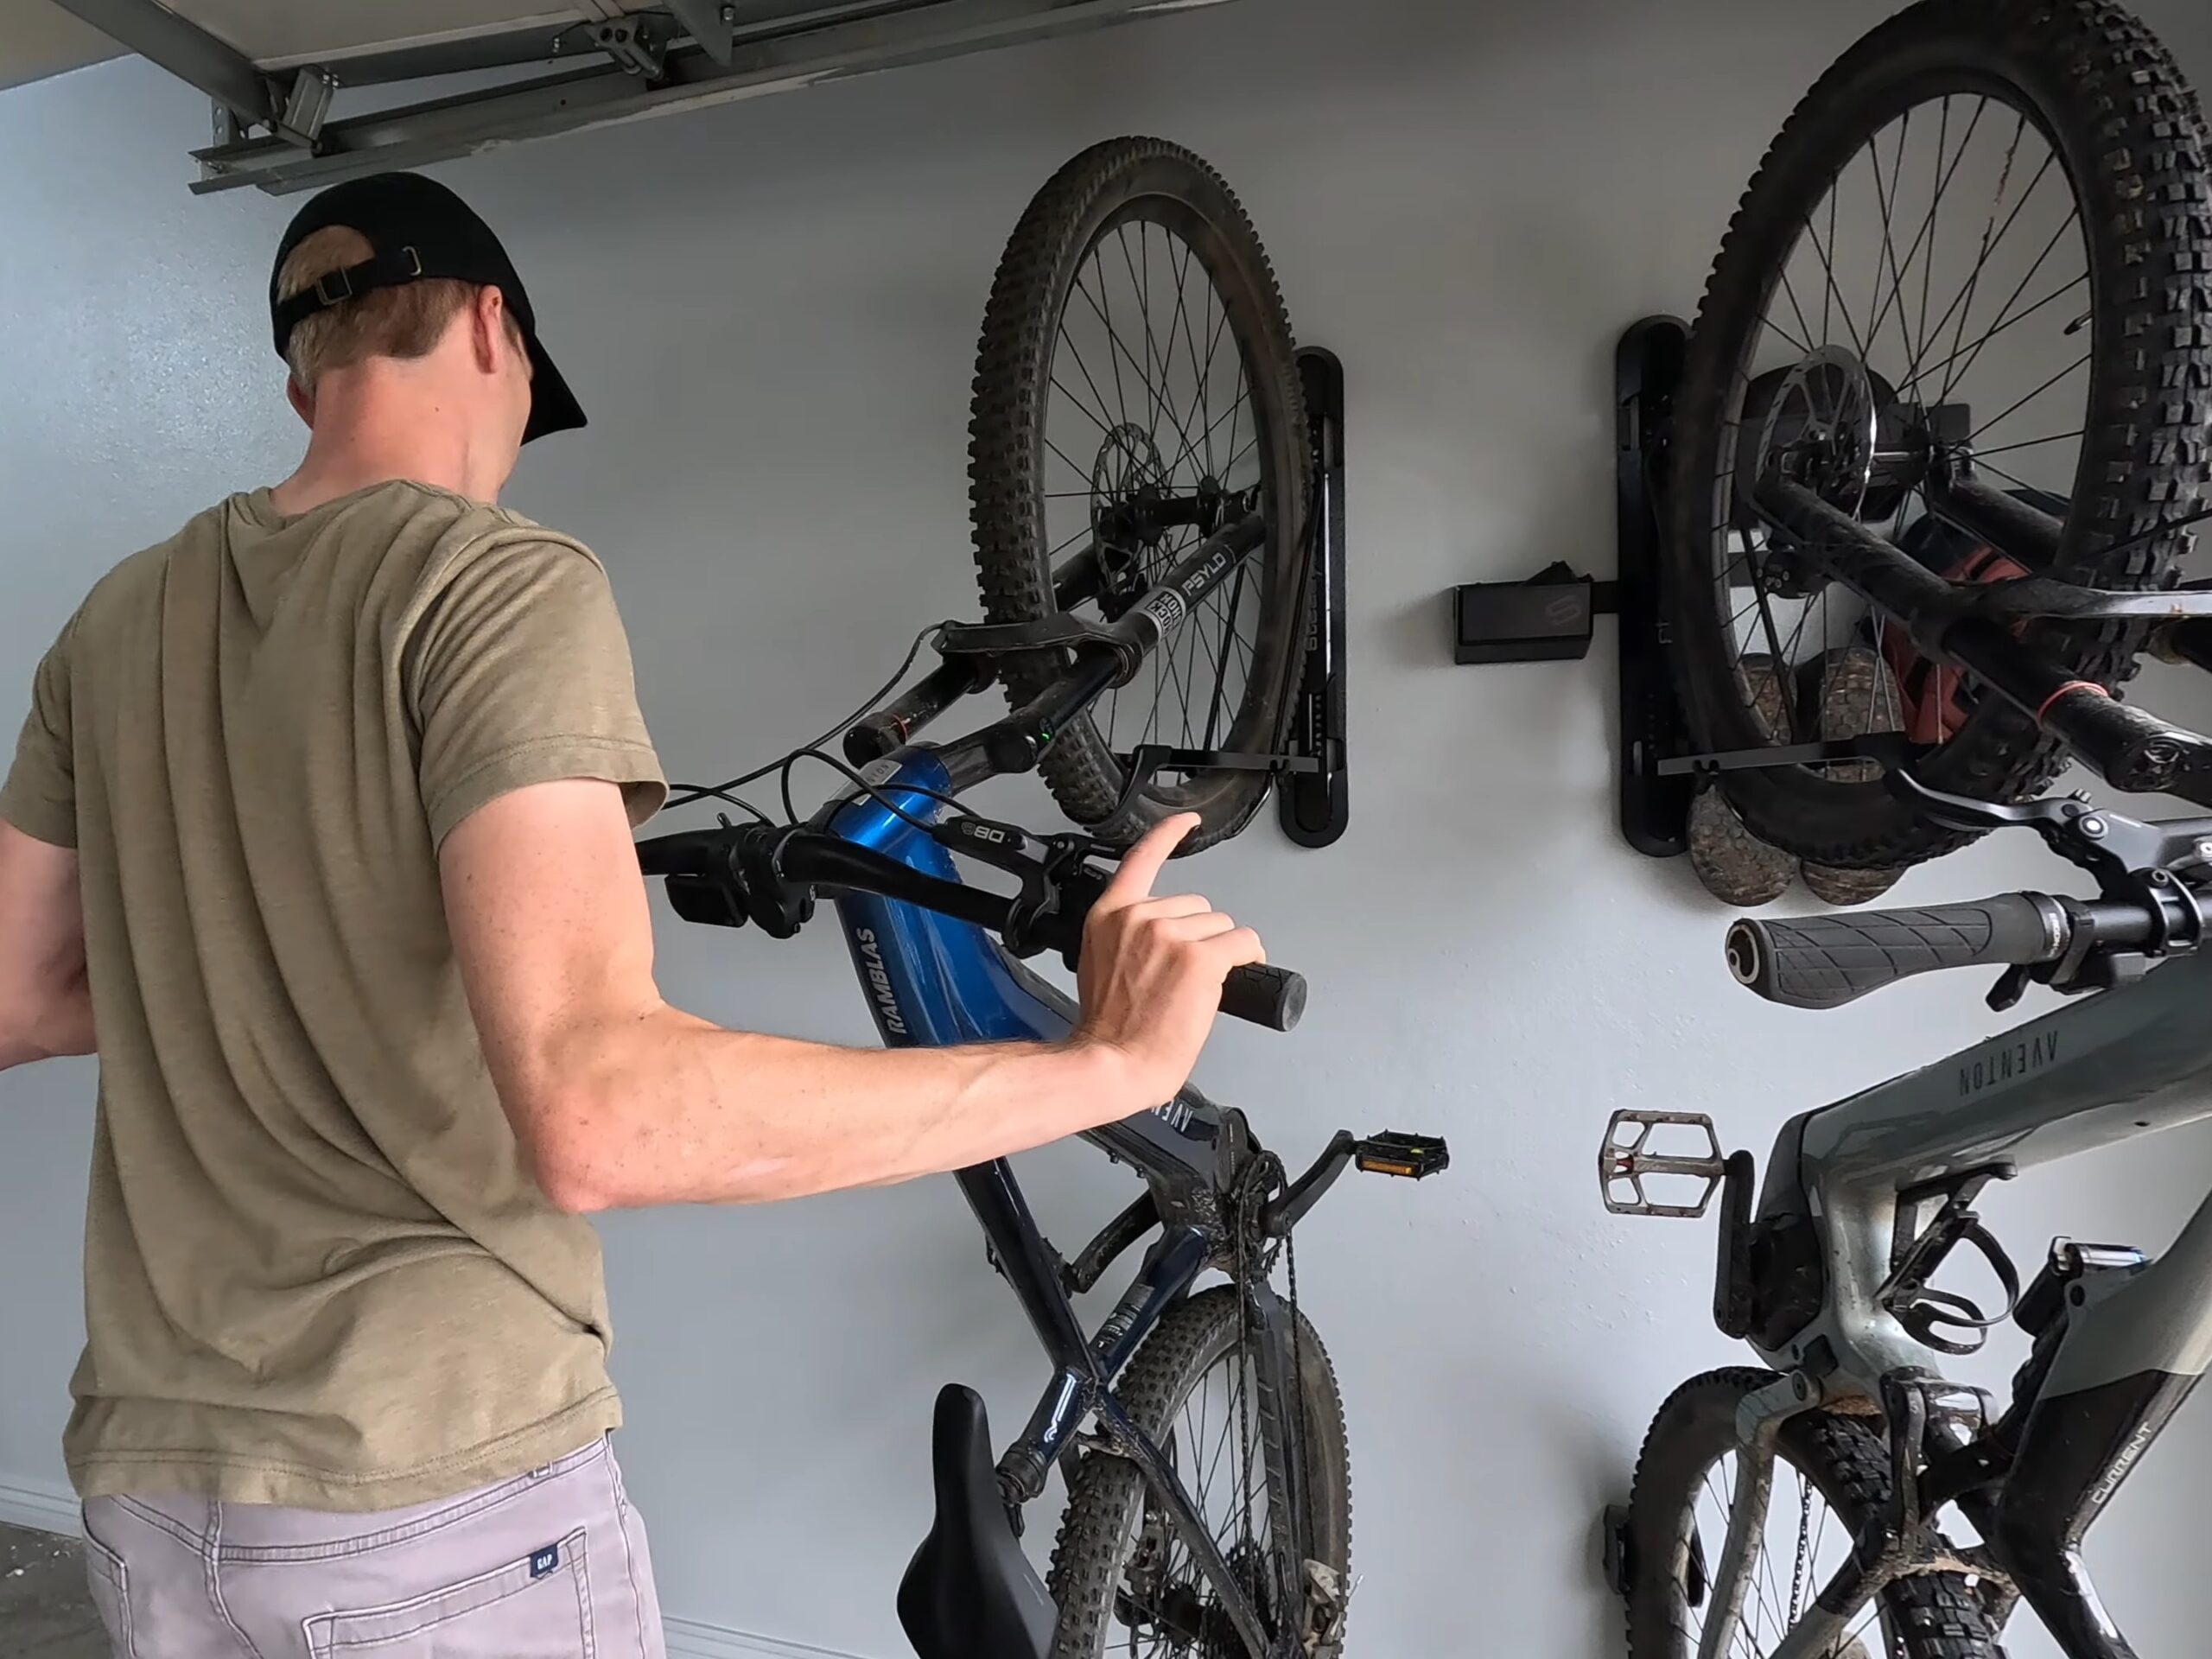
Fender compatibility comes down to removing a set of end caps on the rack arms. It is a small thing, but it is noticeably easier to do than on Steadyrack’s older fender racks, and those older fender models did not have anywhere near this weight capacity. That combination is the reason we were interested in the ProFlex in the first place.
Installing Ten Racks
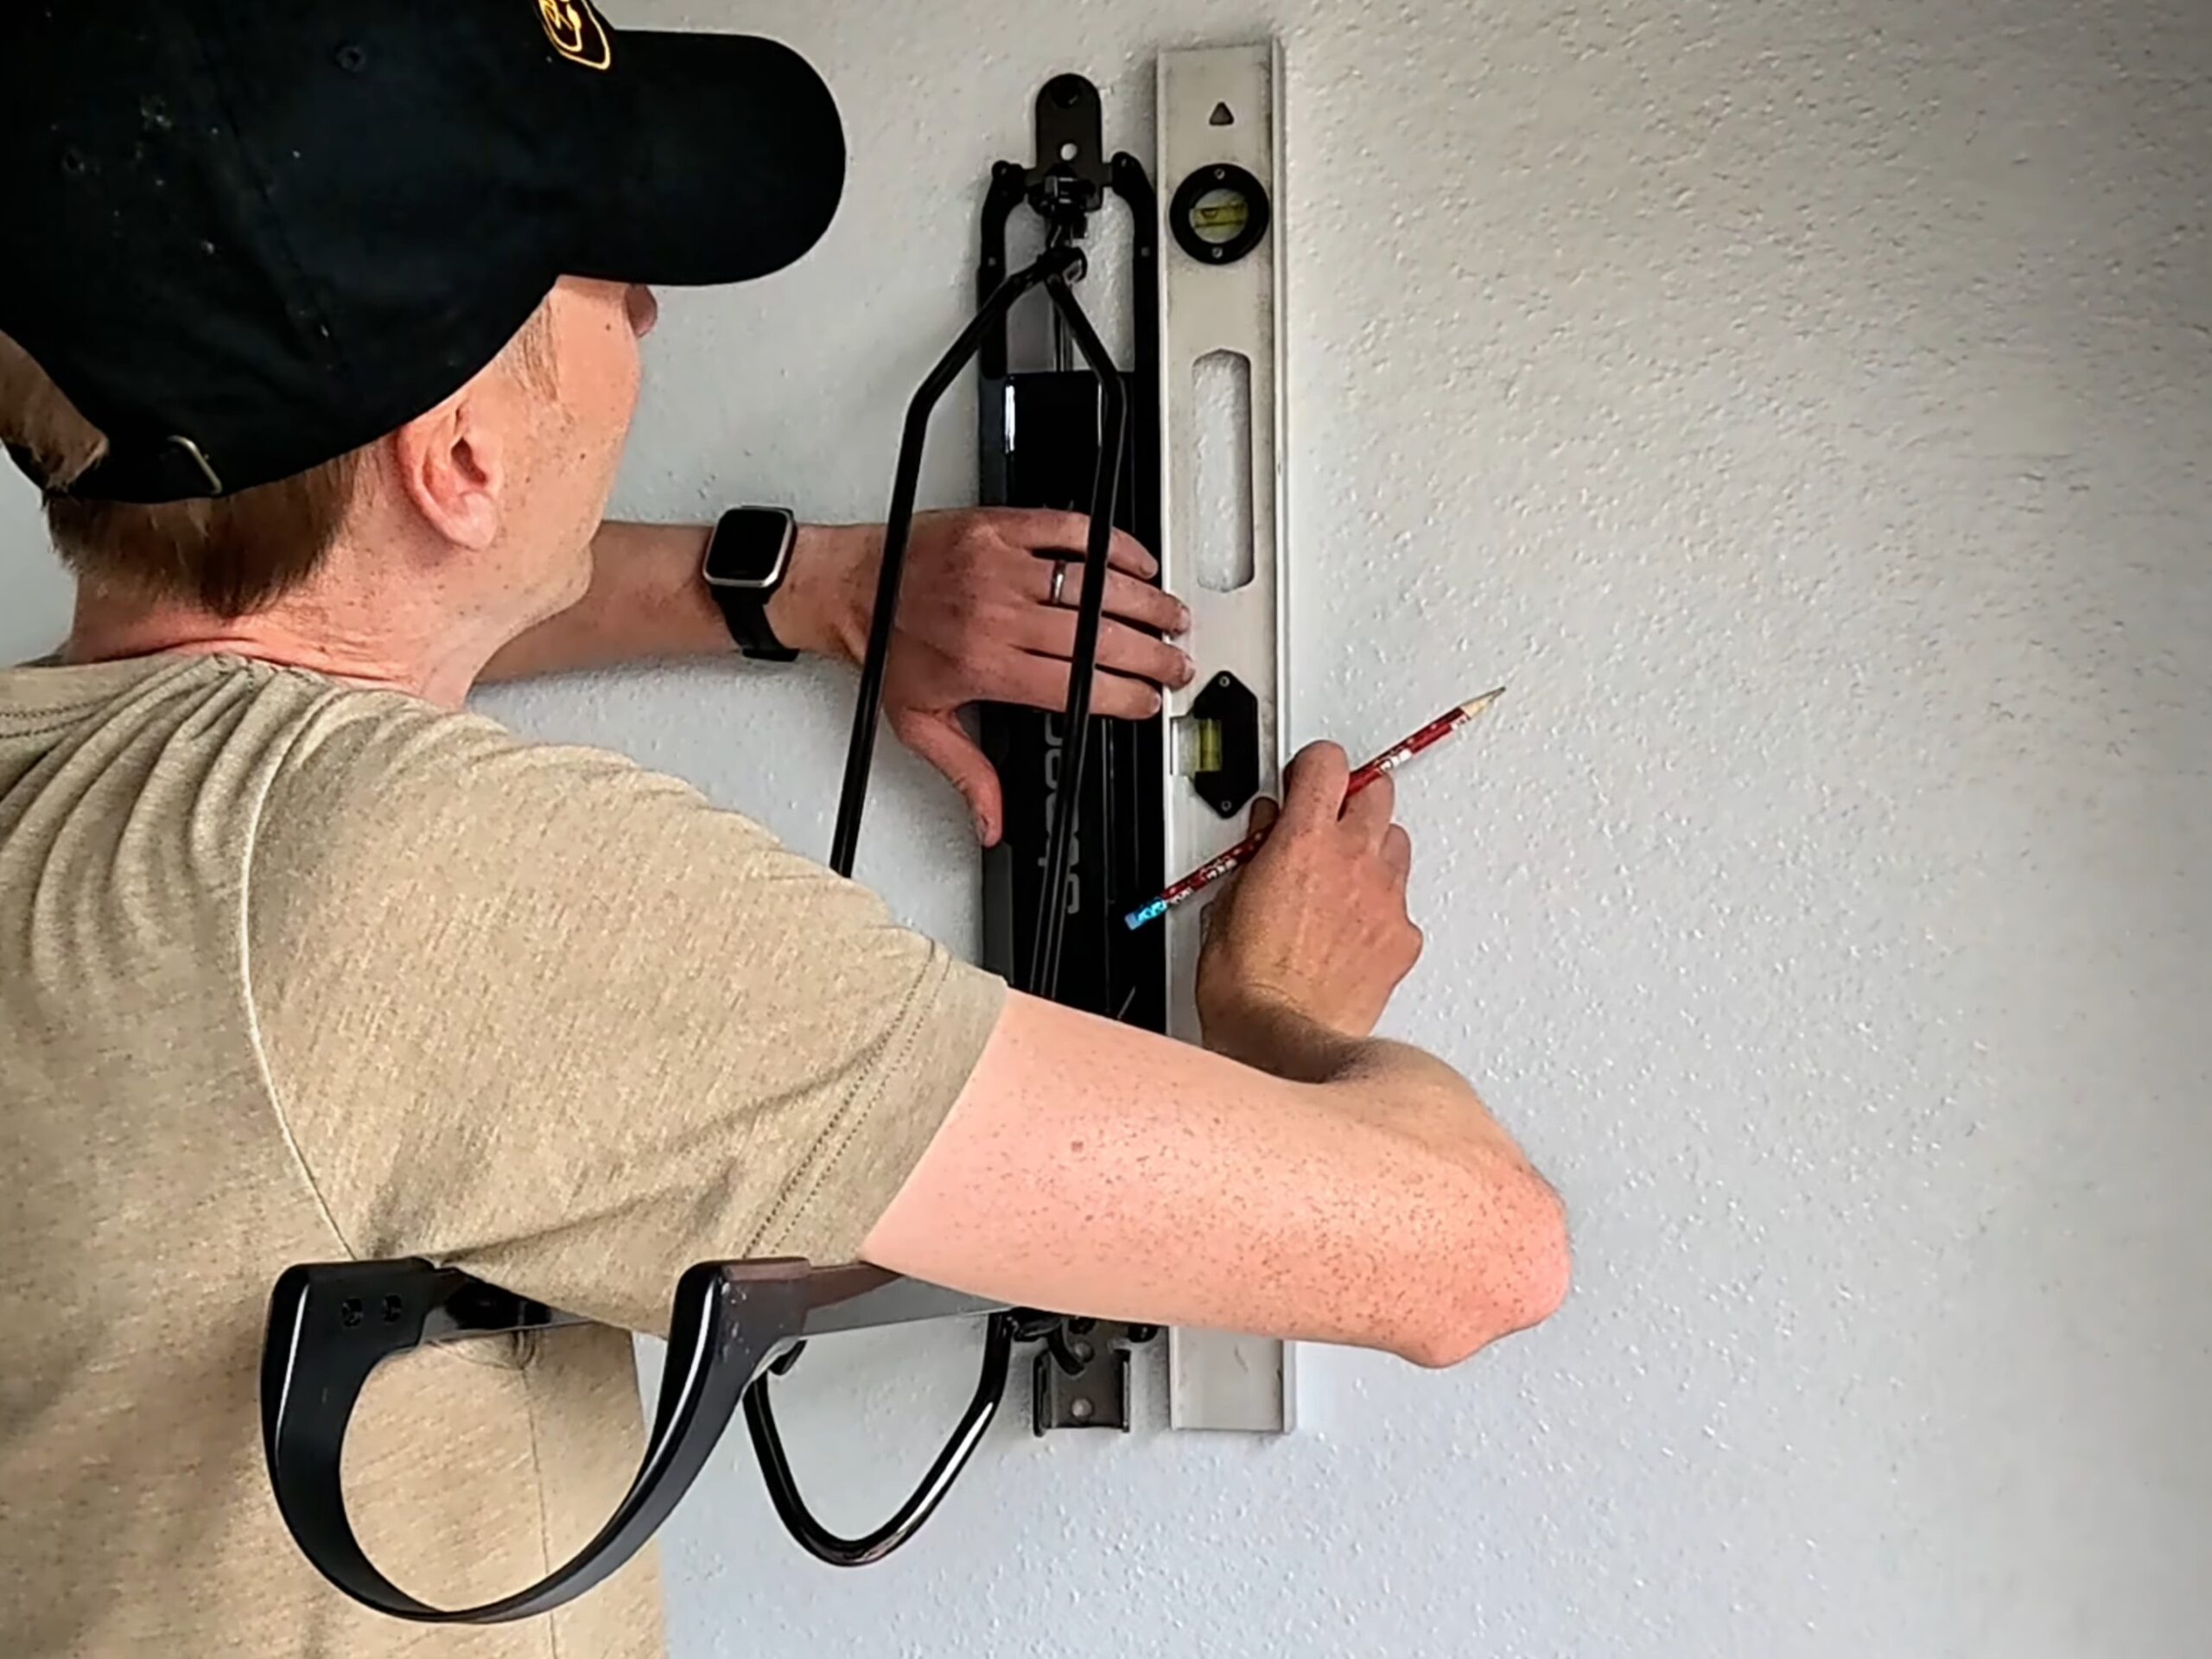
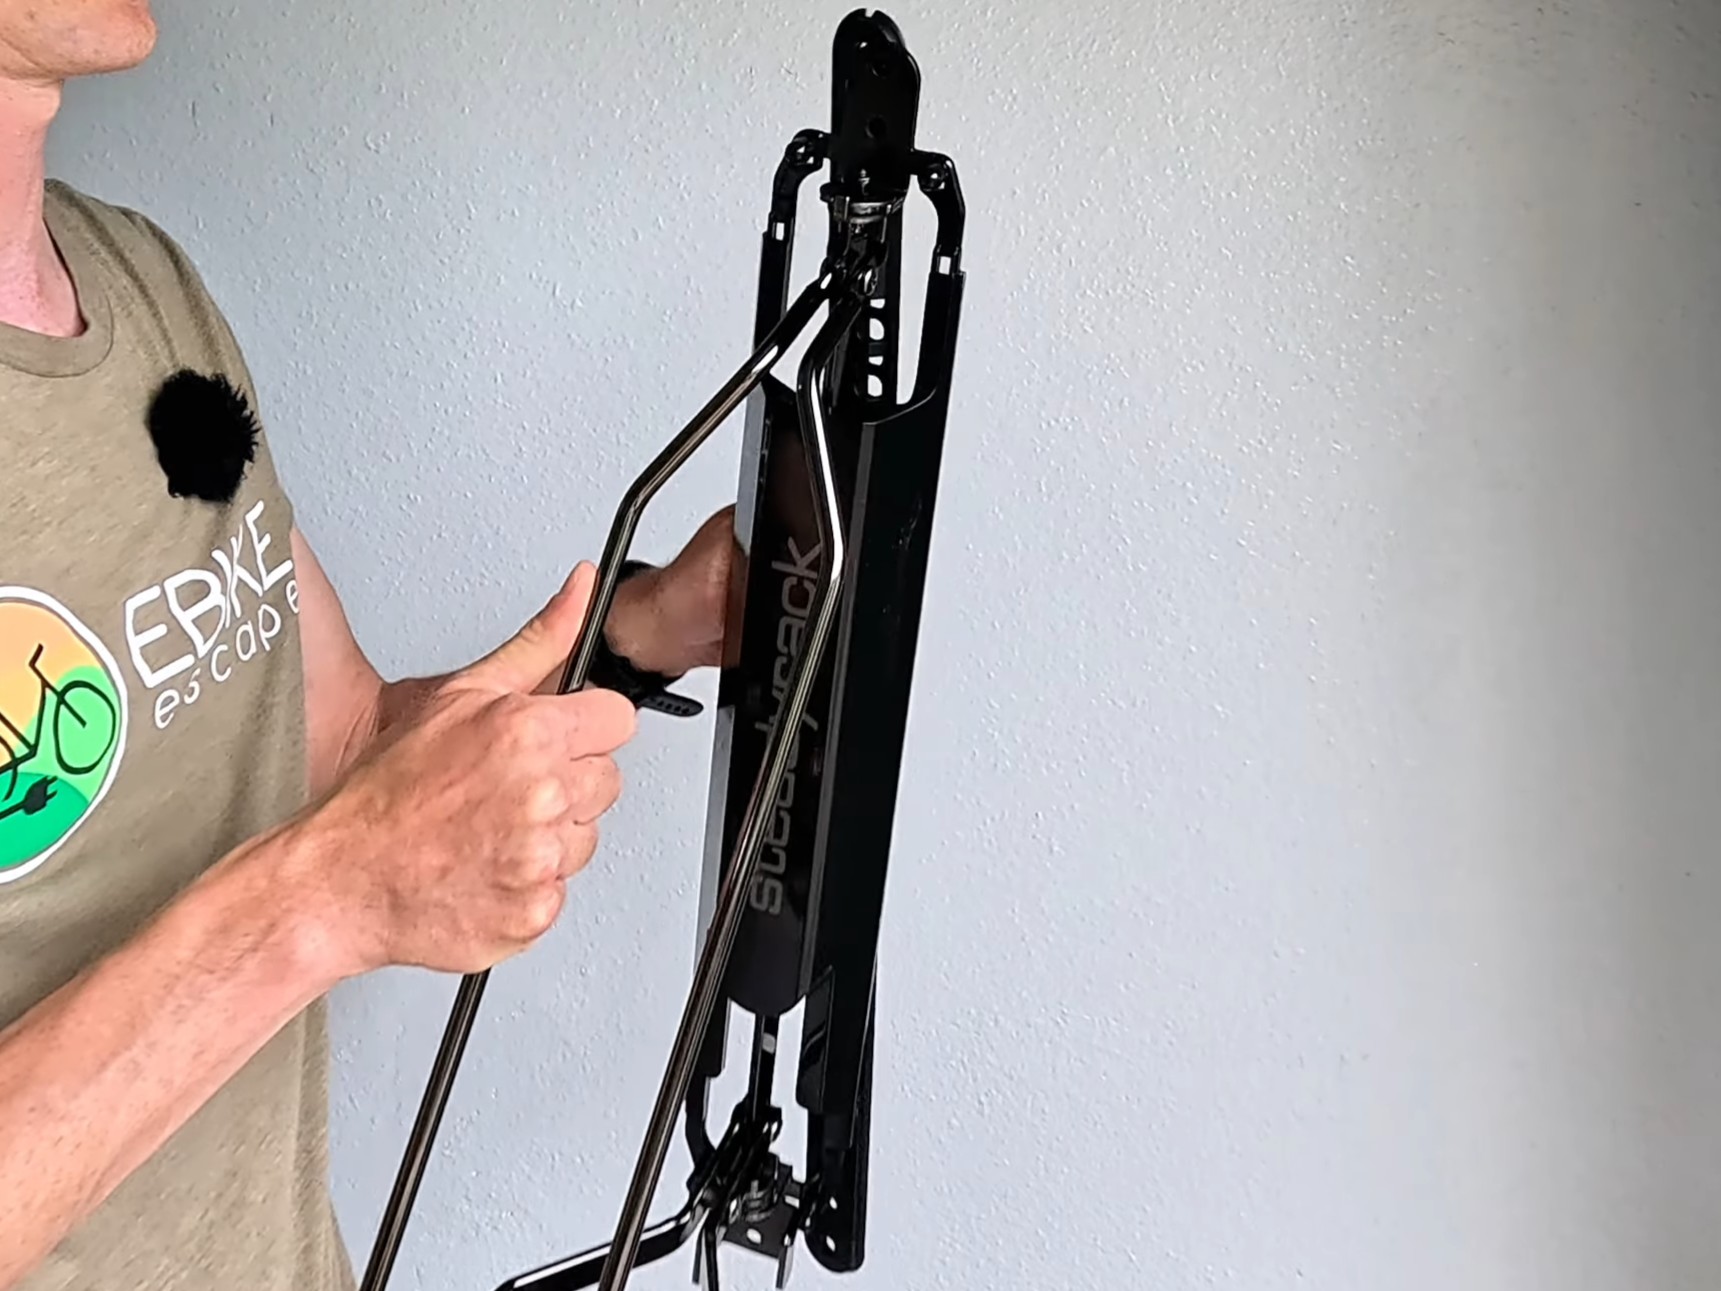
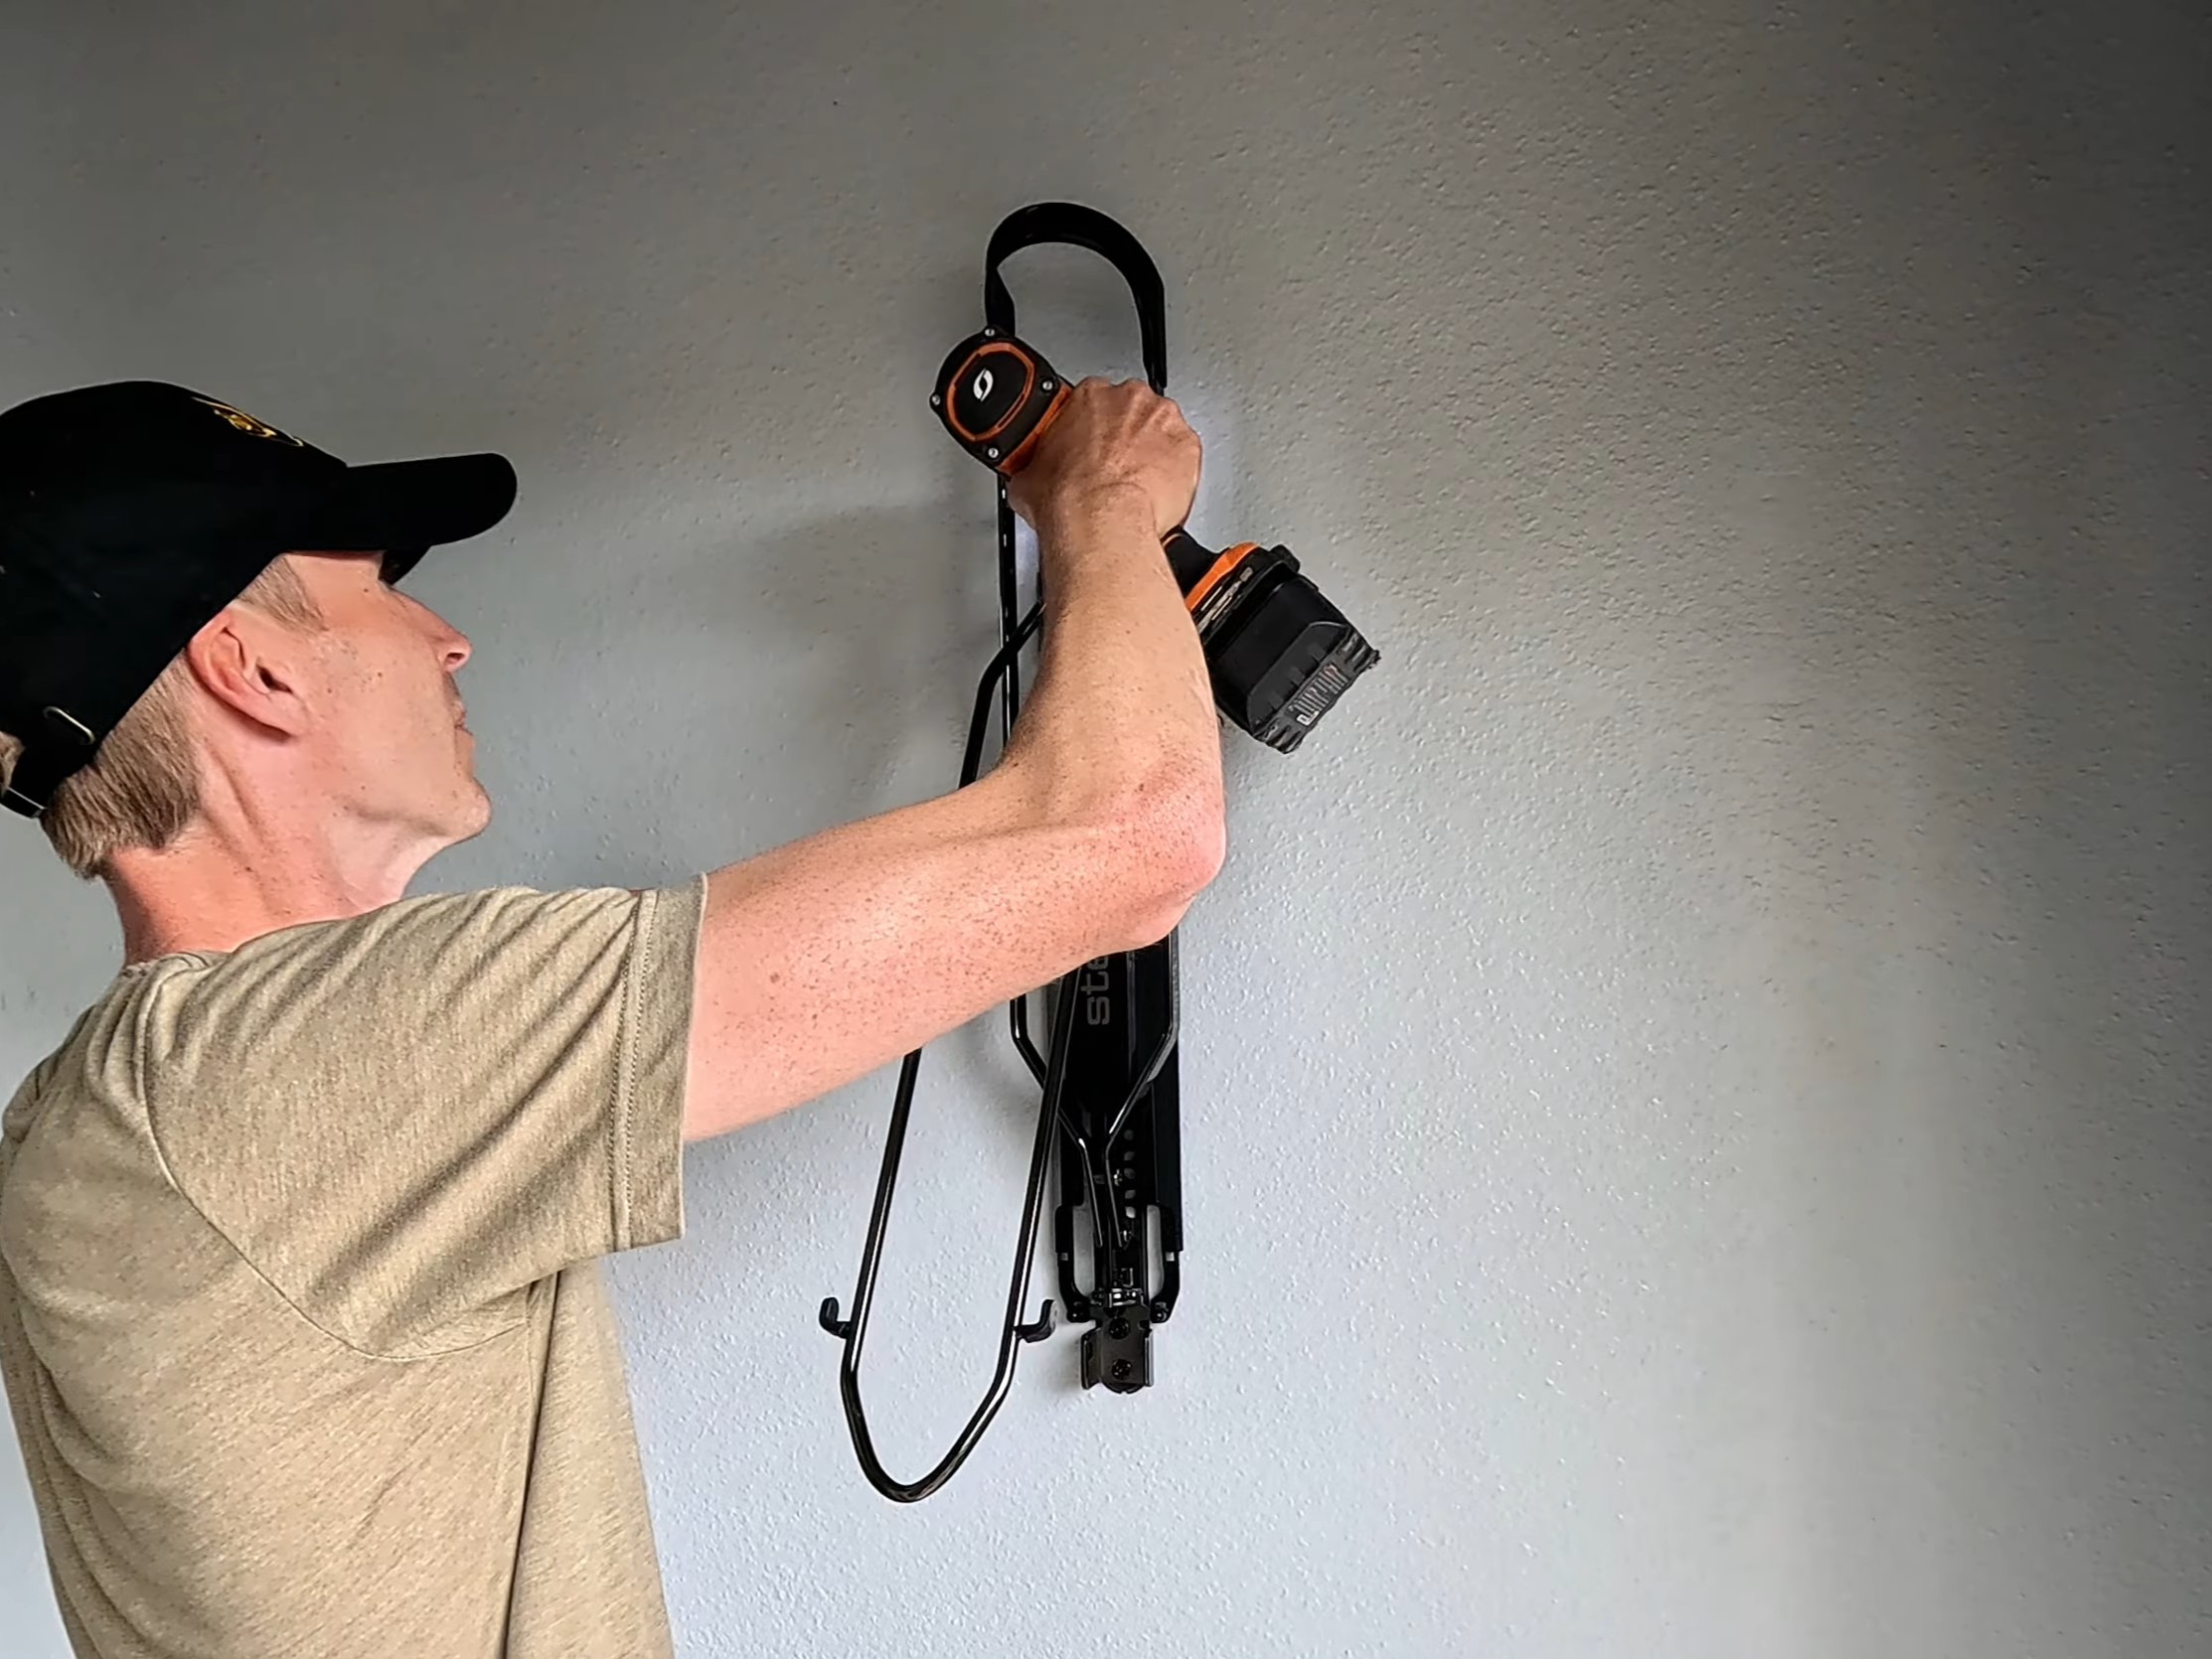
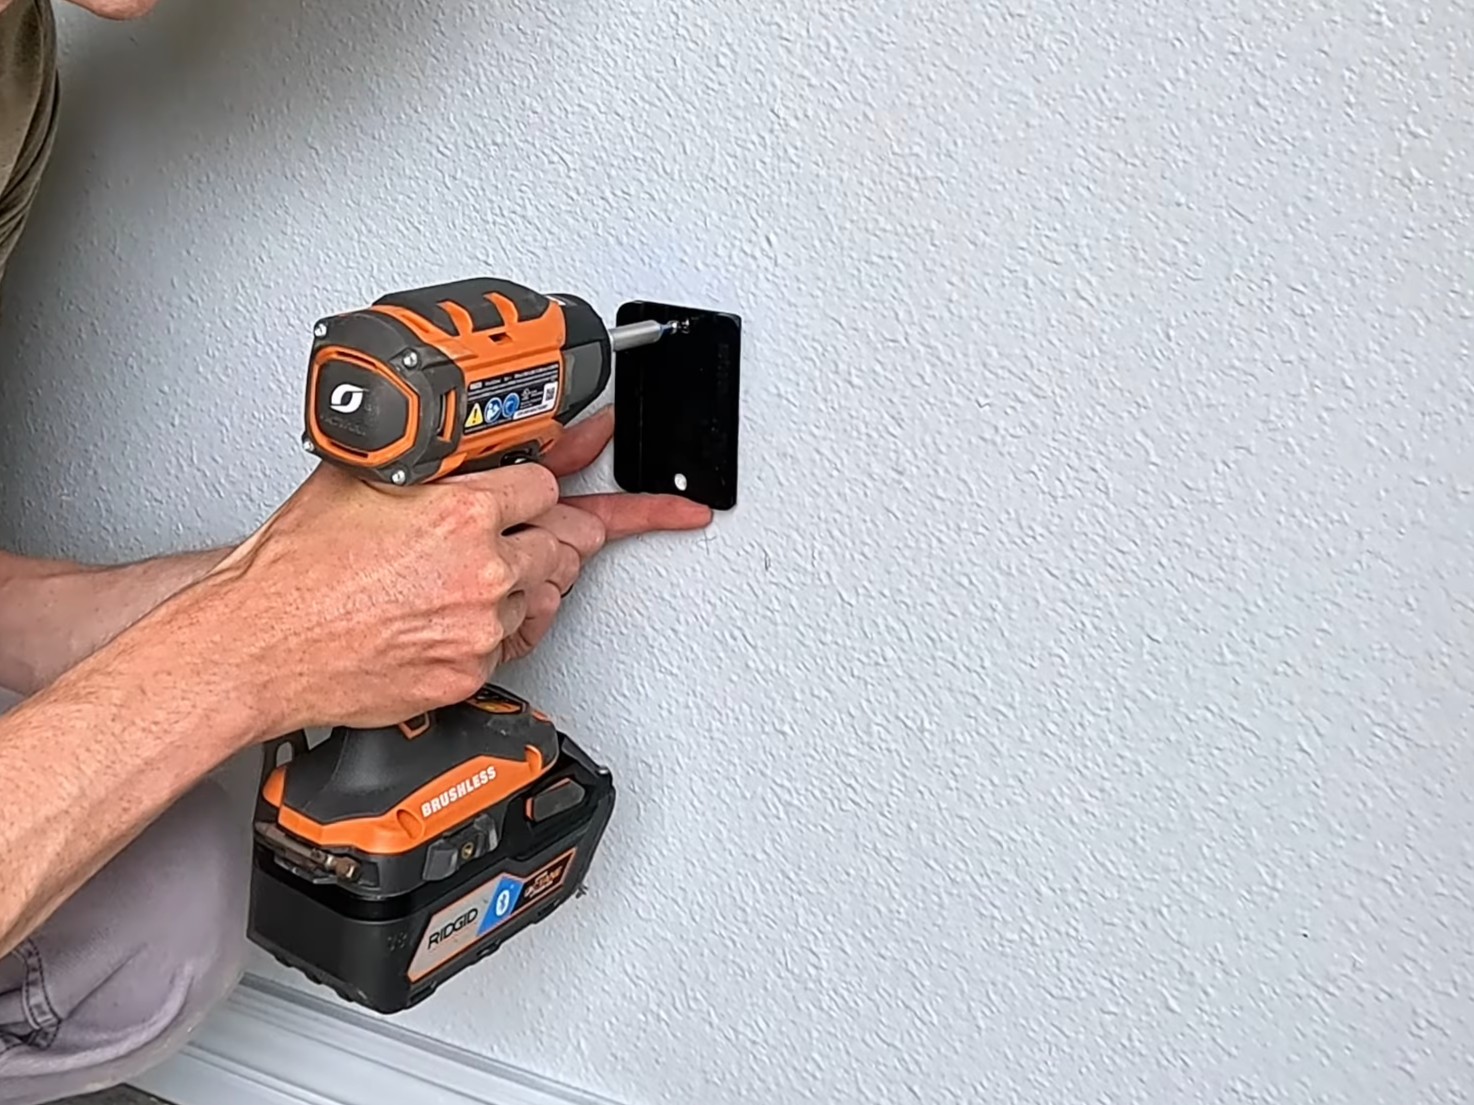
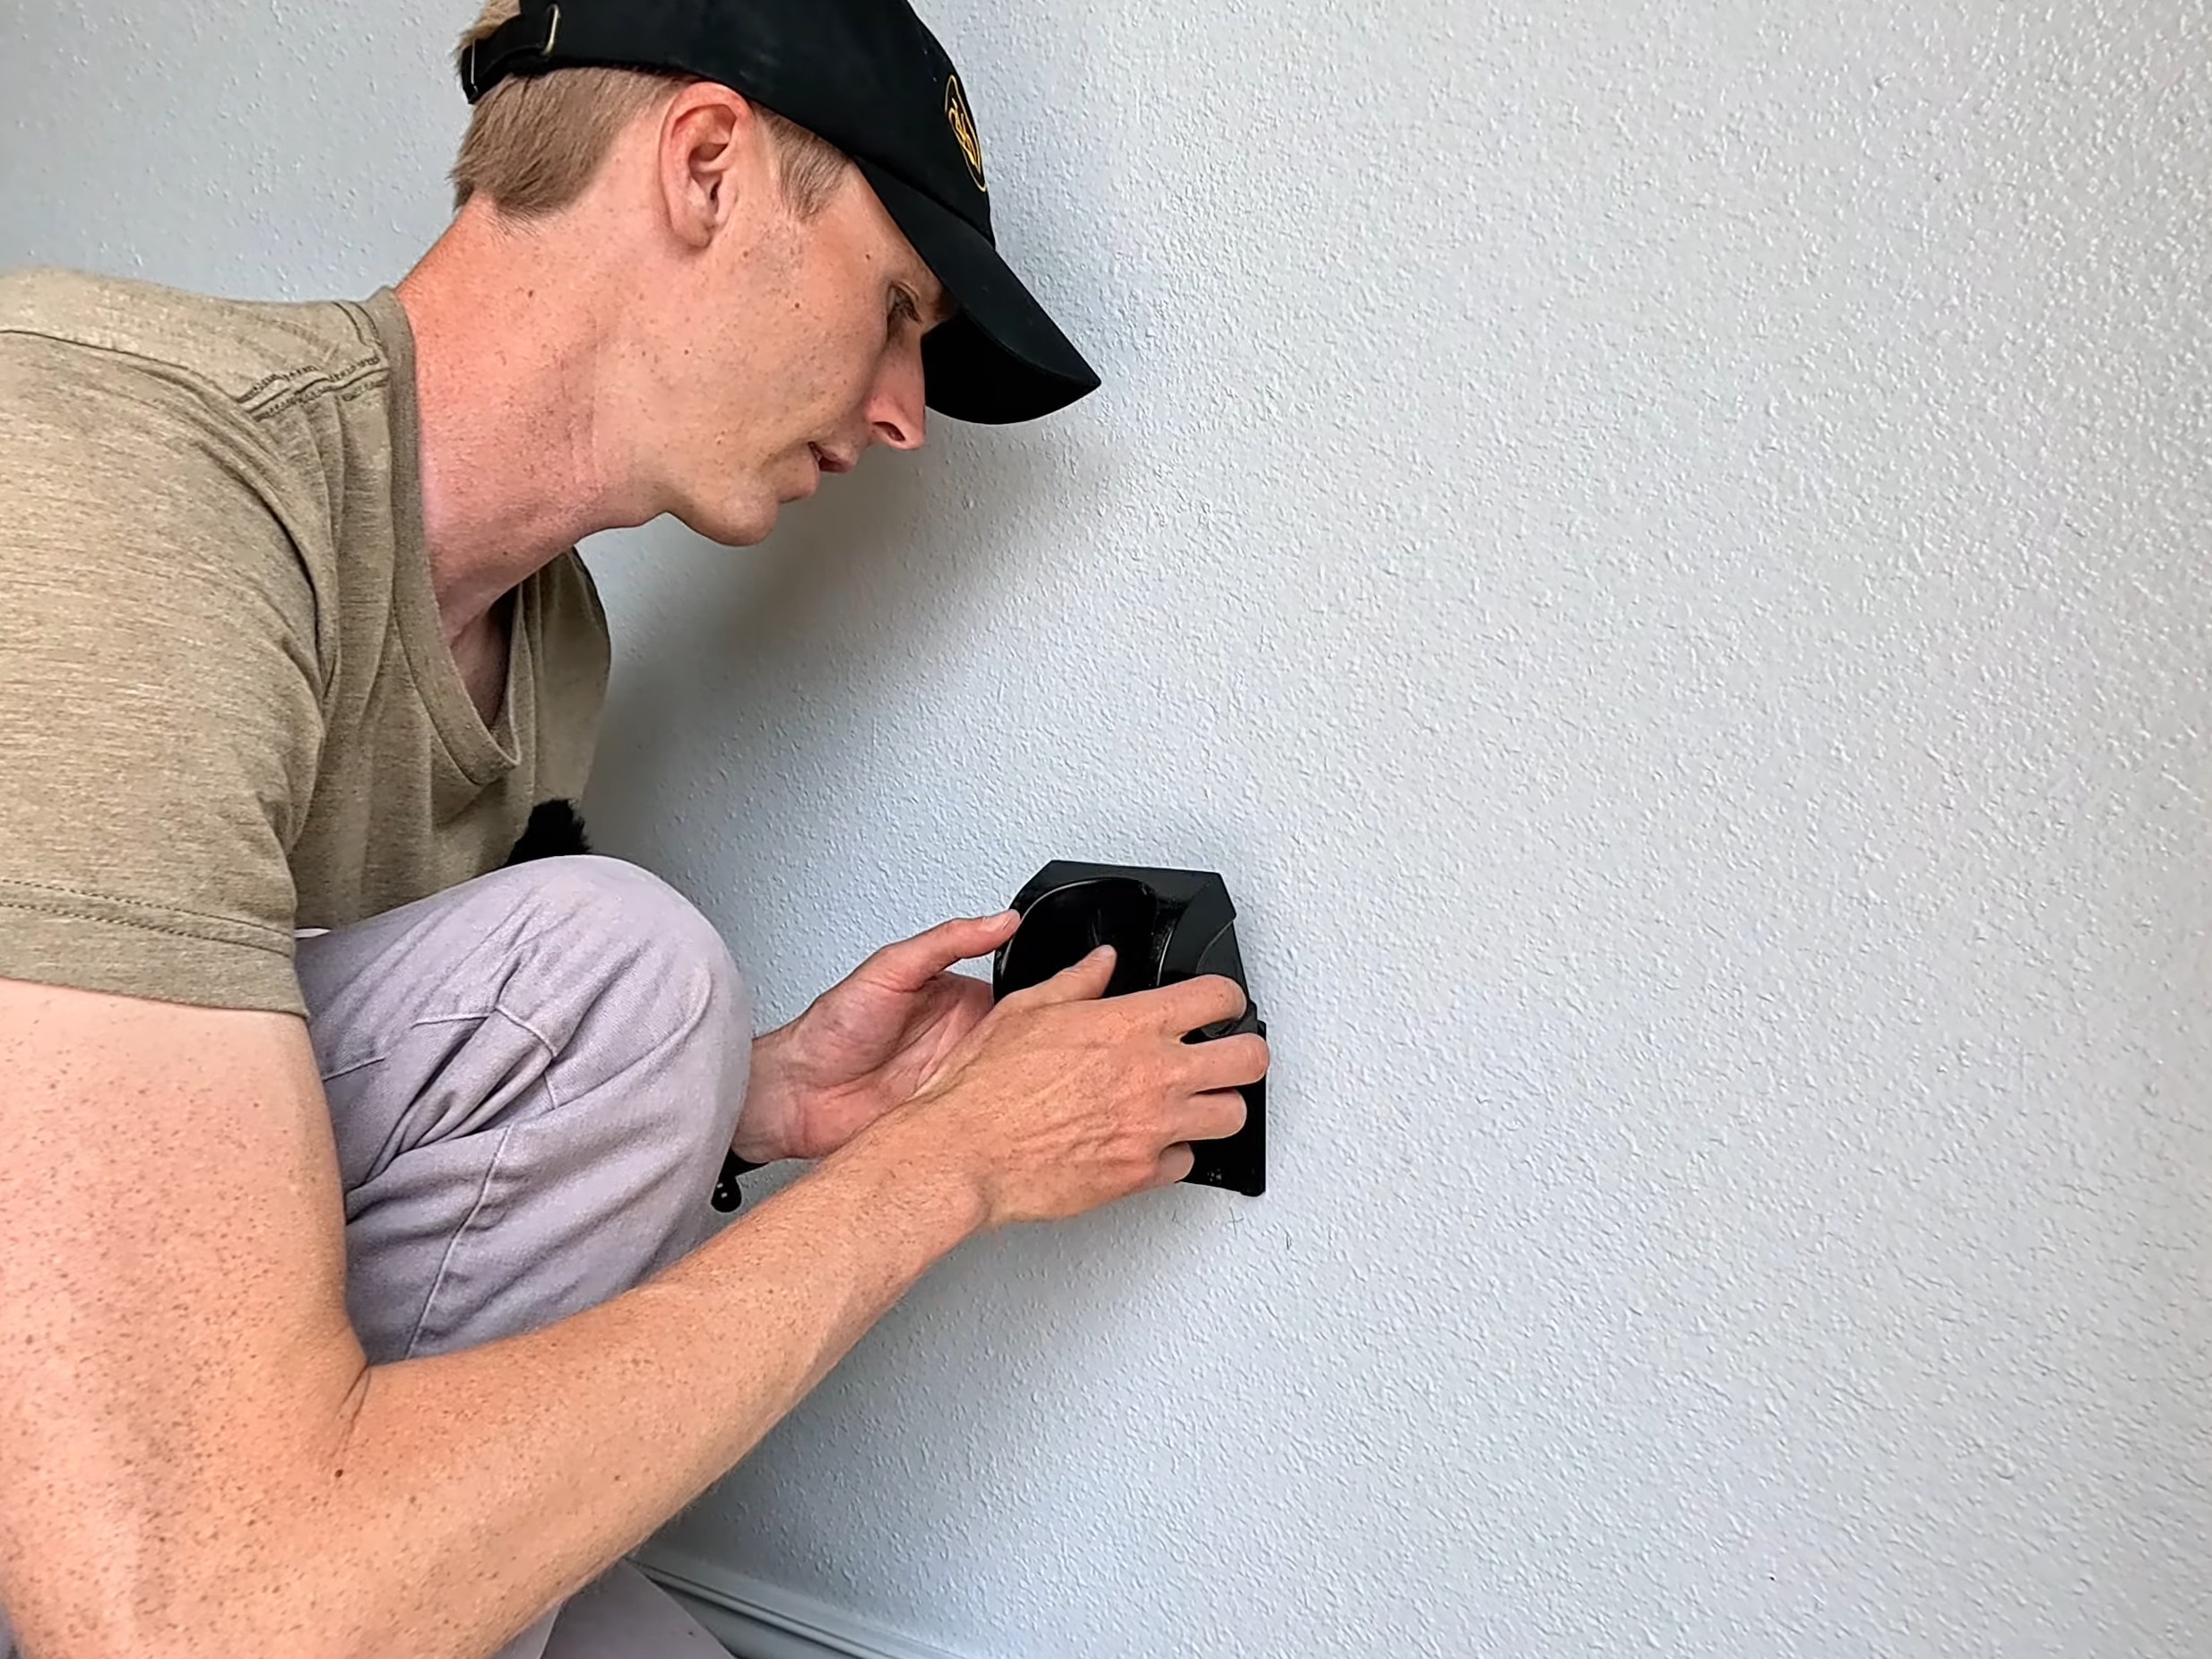
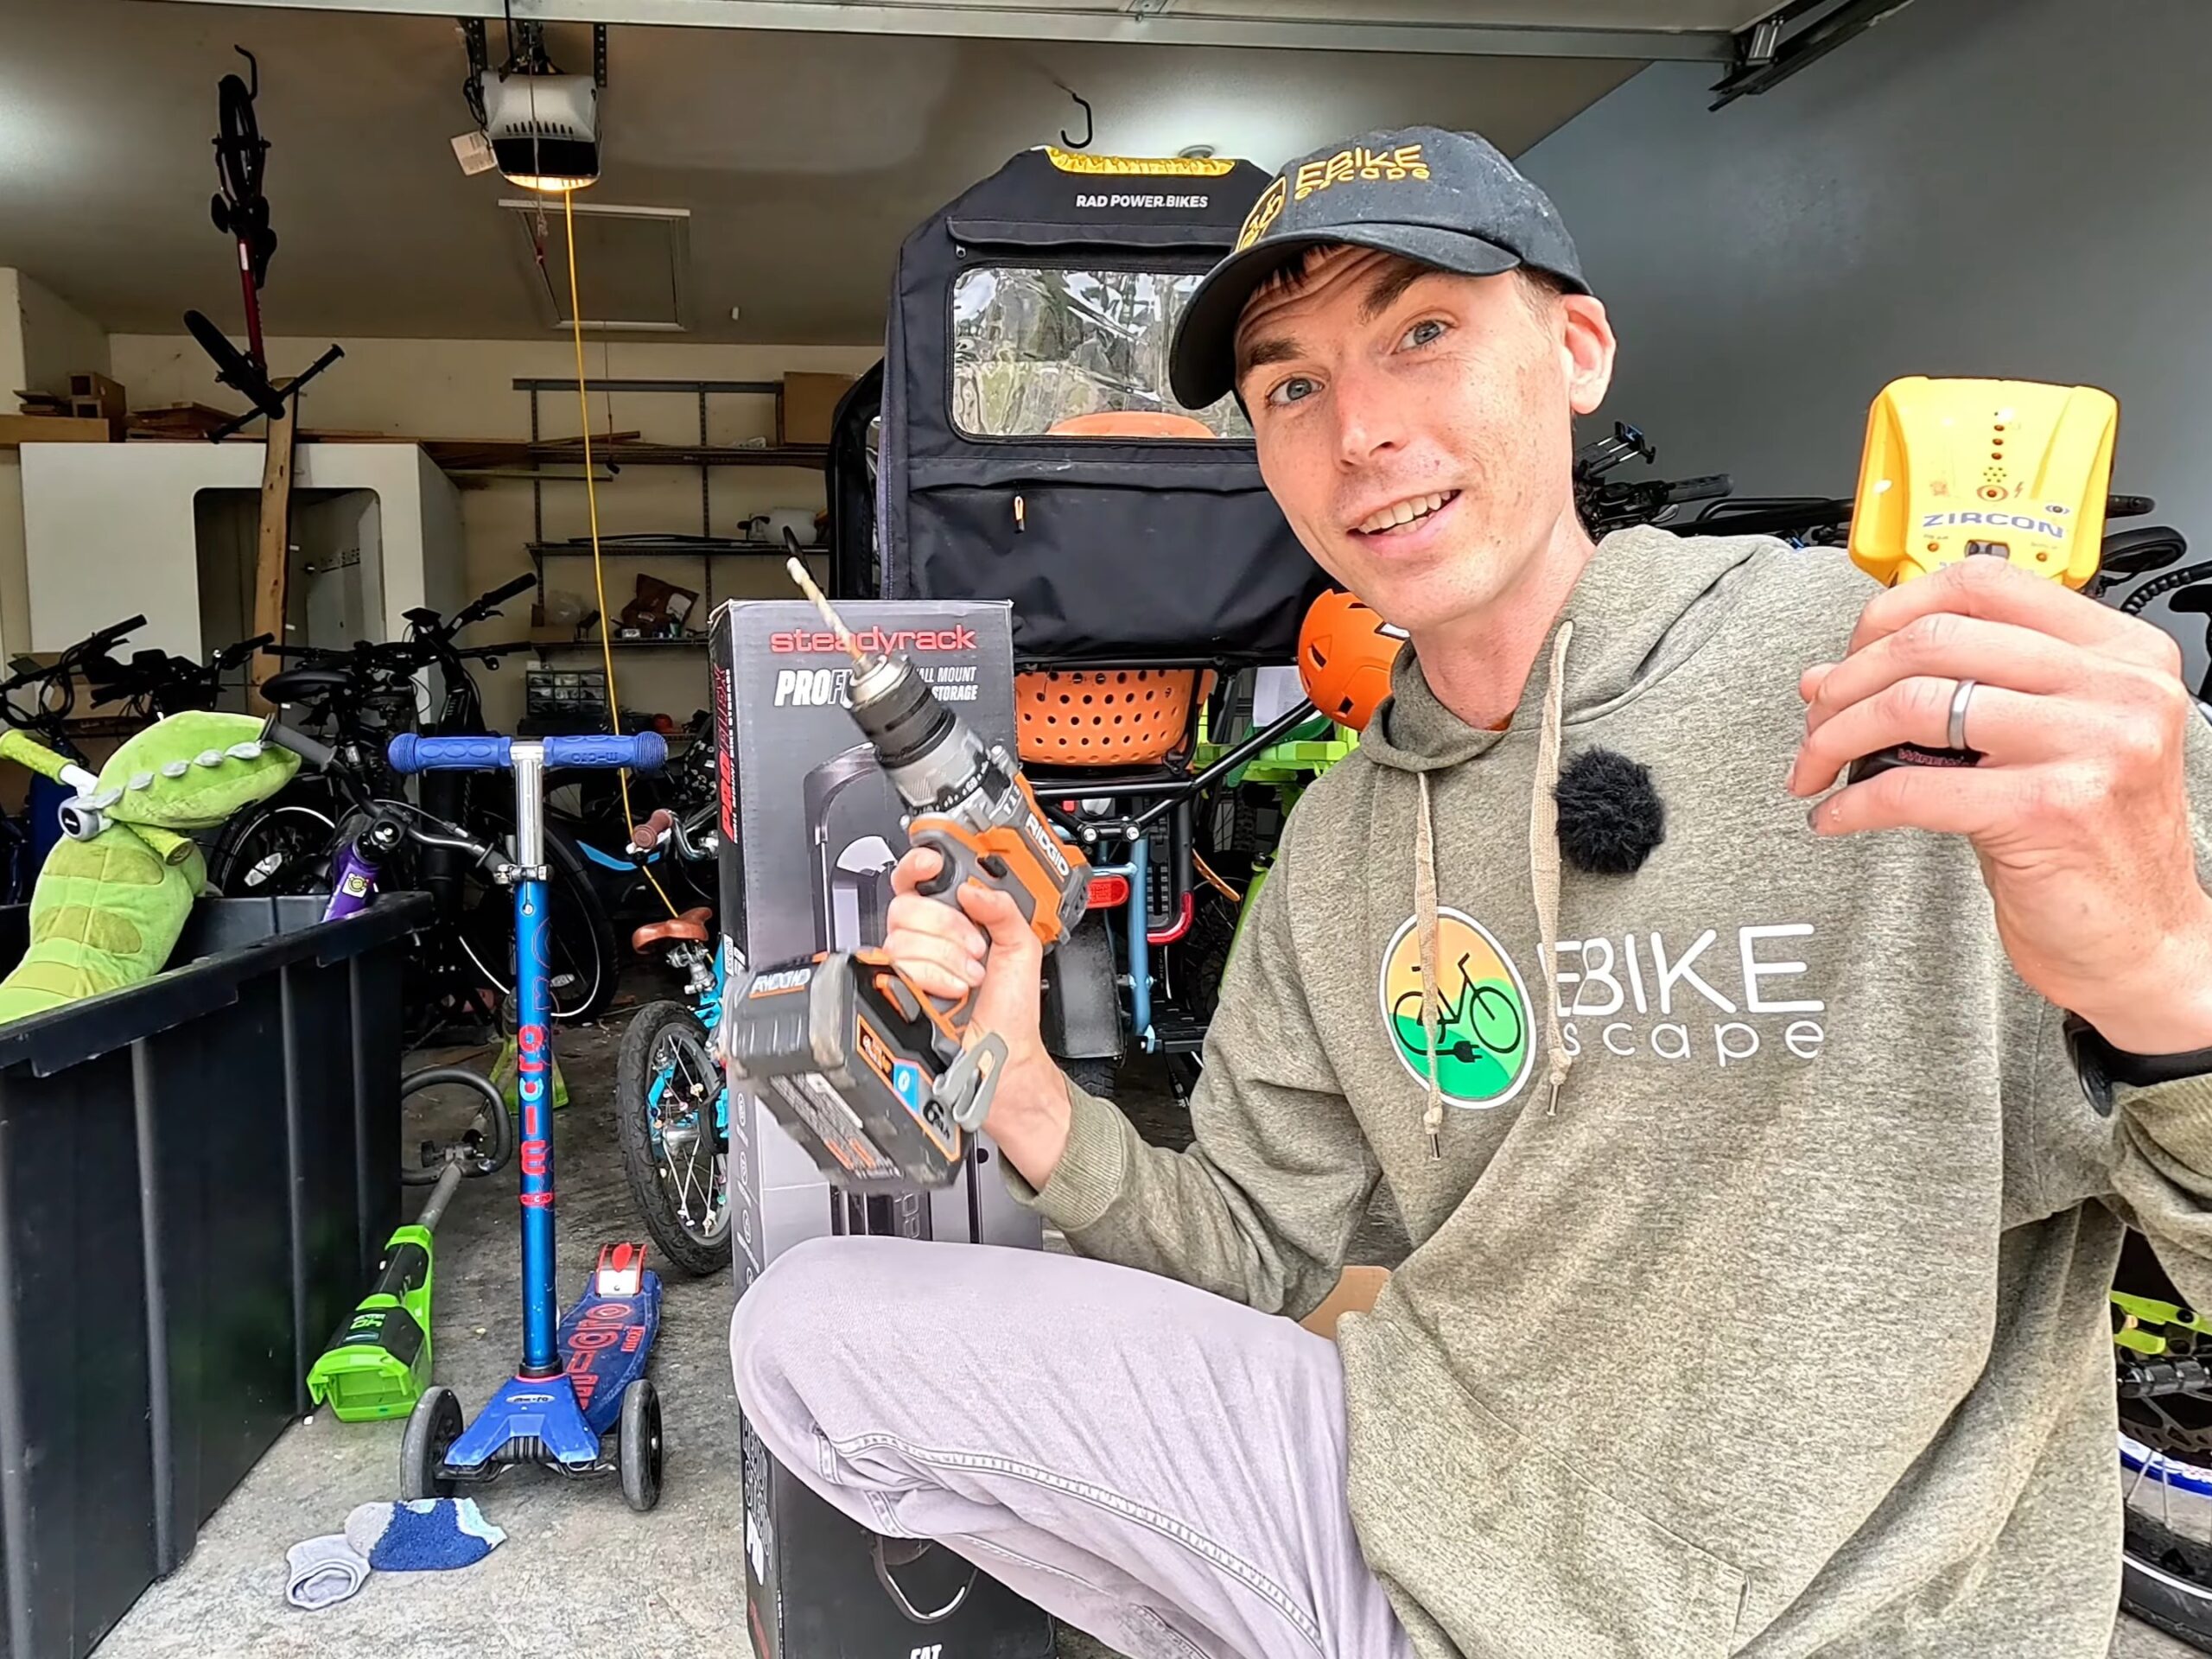
Install is straightforward once you have done one. Measure the wheelbase of the bike, add a few inches, mark your holes, drill four holes, and bolt the rack to the wall. After the first rack it is quick to go right down the line. The SteadySpine lines up flush behind the top tire rack and bolts to the wall at the same time, using the same four holes, so it is not a separate job. Put the caps back on and you are done.
Steadyrack recommends roughly three inches between the rear tire and the wall for heavy ebikes. We left more than that on most of ours because we swap bikes constantly and every ebike has a different wheelbase. If you are hanging the same bike permanently, dial that measurement in for that specific bike, because it makes rolling the front tire up into the rack easier.
Height planning is where we would do things differently. We mounted most of the racks higher than strictly necessary so that a longer wheelbase bike could go there later, and that part worked out. What did not work out was setting two racks at the same height without accounting for a fat tire bike, which hangs lower than everything else. That rack sits empty for now, aside from holding our son’s very light bike, until we raise it.
One more thing worth deciding before you drill: which direction the bikes will pivot. Ours pivot away from the garage door, which meant all of the GearMate accessories needed to go on the right side of each rack.
Ten Different Bikes on One Wall
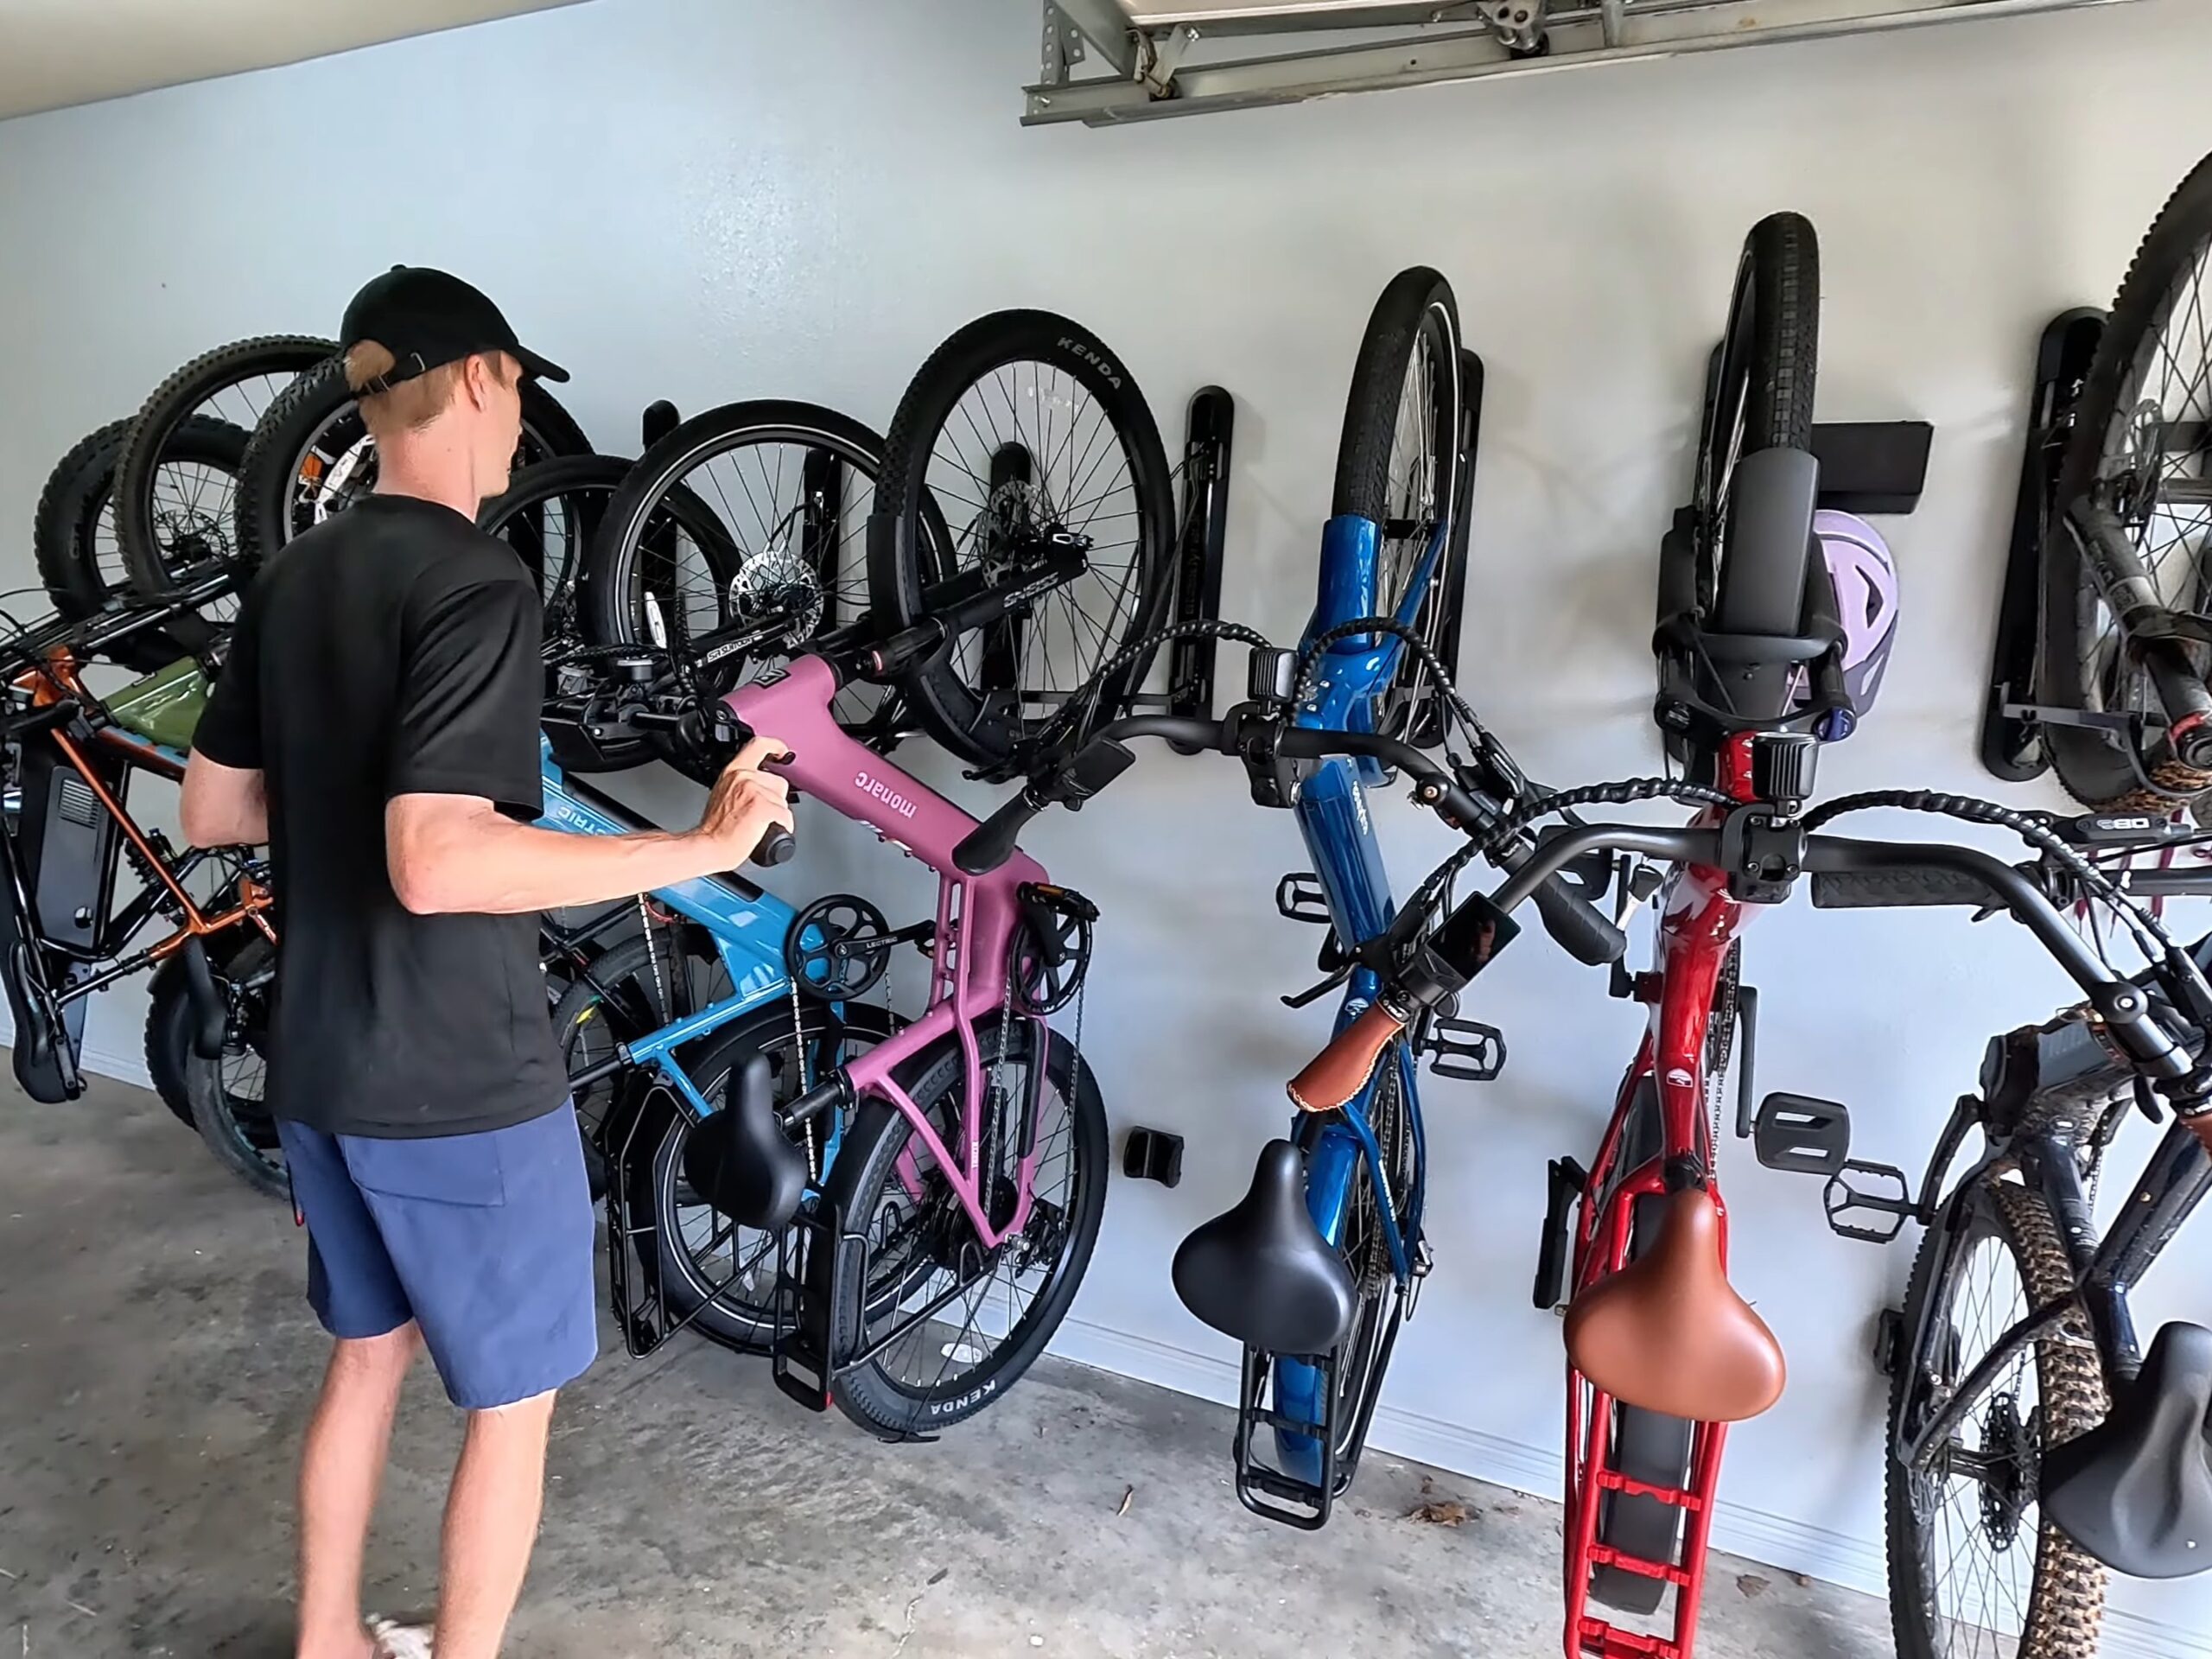
Range of bikes is really the argument for these racks. On our wall right now we have the Aventon Current EXP electric mountain bike, the Aventon Ramblas ADV, the Euphree City Robin 3, a Euphree Solar Sparrow, the Monarc Tracer, the Lectric XPress 2, the fat tire Monarc Marker, the Juiced Scrambler FS on 4.5 inch tires, a non electric mountain bike, and a kid’s bike.
Sizing has been more forgiving than expected. You can size up and still hang a narrower tire on a wider rack. The wheel tilts slightly when you do, which has been a non issue for us. Worth noting that Steadyrack still sells the older, non ProFlex racks, and for a light analog mountain bike one of those older models would do the job just as well for less money.
Once everything was up, we pushed all the bikes to the left so they sit as close to the wall as they can. The pivot is what makes that possible, and the space savings at that point are significant.
The Steadyrack GearMate Accessories
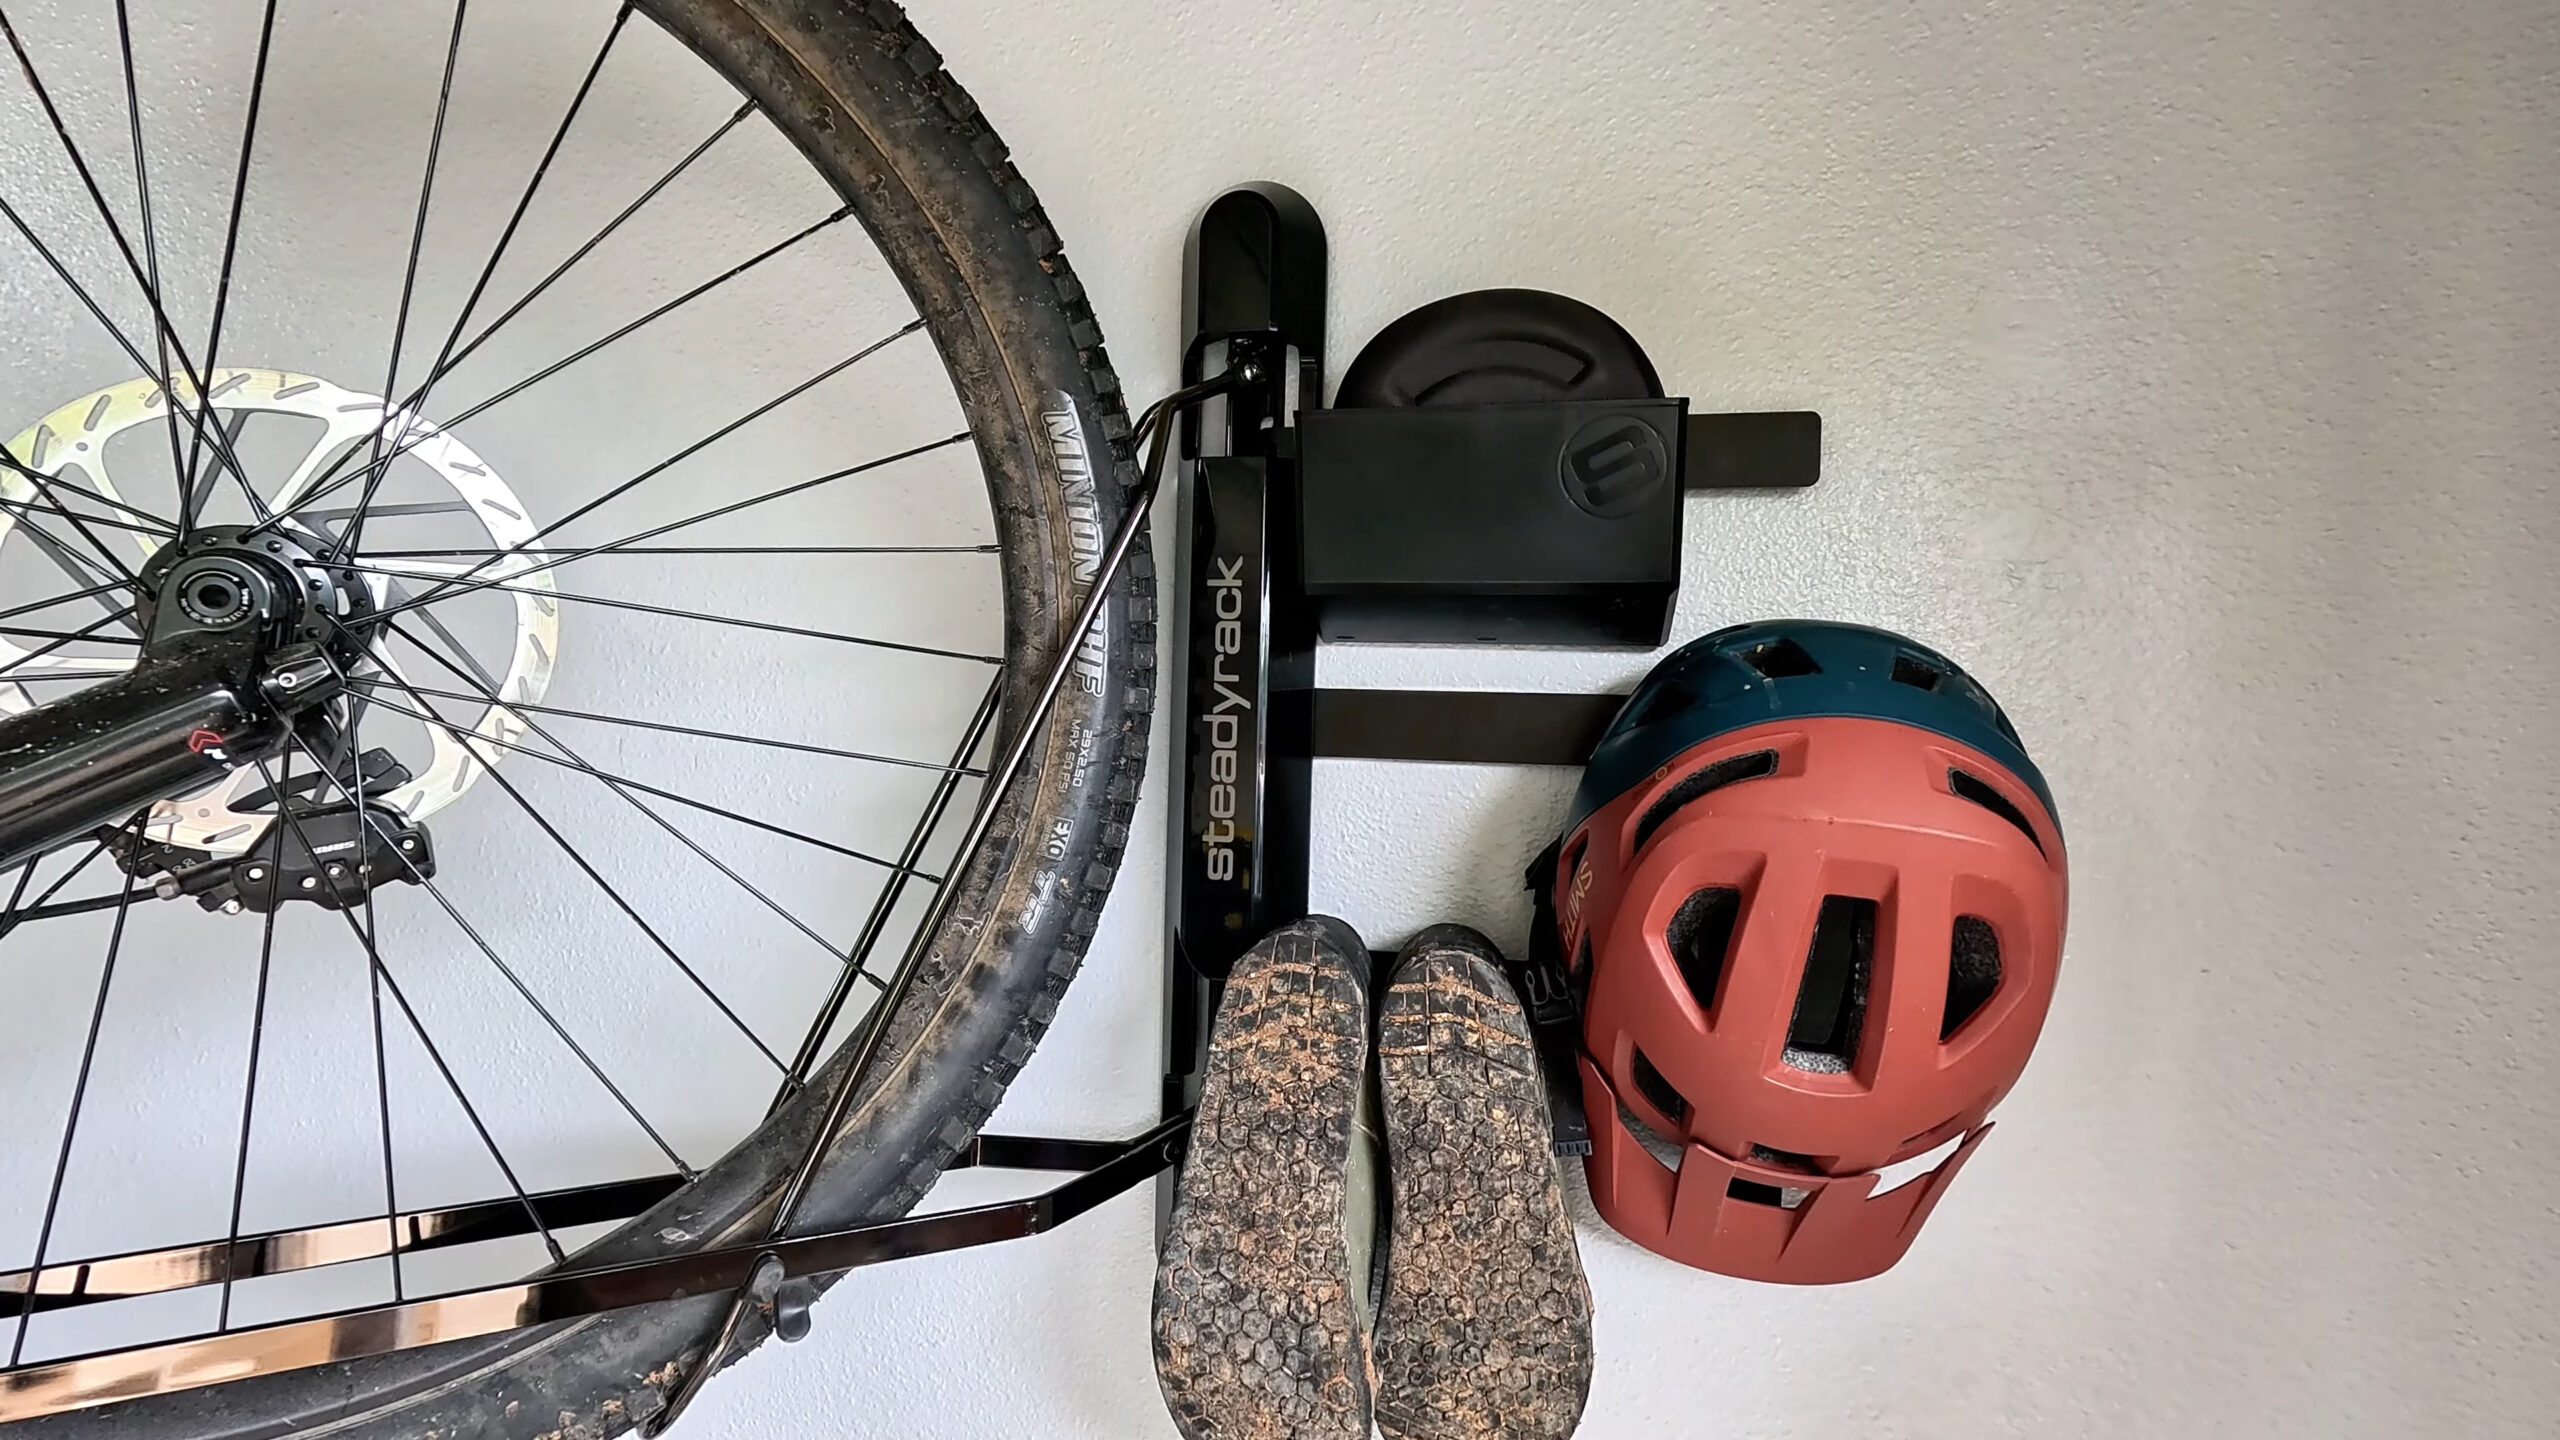
Honestly, the accessory system has solved more day to day frustration than the racks themselves. The GearMate pack includes three sizes of containers, a pair of hooks, a larger hook, Velcro straps, and a set of brackets, all of which slide anywhere along the SteadySpine. Because the ProFlex has the spine built in, setting these up is easier than on the older classic range.
What that looks like in practice: mountain biking gear lives in one spot, gloves in another, and helmets finally have a dedicated home instead of the floor. We put the Aventon Current’s charger on the spine next to the bike, and since that bike’s charge port is right there, it can charge while it is hanging. My wife has her own section with gloves, shoes, helmet, and glasses. We will probably add more cubbies over the next year.
If you want room for accessories on both sides of a rack, consider skipping a stud when you lay out your spacing. We packed ours closer together for maximum space savings, which does mean the bikes touch a little more than they otherwise would.
Tips for Loading a Heavy Ebike
A few things we have learned after doing this hundreds of times:
- Watch your fender. Pay attention to how low your fender sits before you roll the bike up. On bikes with nice paint matched fenders, do not take the bike completely vertical unless the fender clears.
- Use your knee. Bracing the seat with your knee makes lifting the rear wheel much easier.
- Pull the battery. Removing the battery first makes a real difference on heavier bikes. Some of ours are in the 80 to 90 lb range with it installed.
- Keep a hand on the brake. Holding the rear brake while you maneuver gives you control. My wife thought this would be tricky and had it down after a couple of tries.
Steadyrack ProFlex: Pros and Cons
Pros
- 121 lb capacity with fender clearance: This is the combination the older fender racks could not offer, and it covers the vast majority of ebikes.
- Genuinely sturdy: We have no hesitation hanging our heaviest ebikes on these.
- Fast to repeat: The first install takes some measuring. After that, going down the line is quick.
- Flexible sizing: A wider rack will still hold a narrower tire, so you have some room to change your mind later.
- GearMate integration: Having the spine built into the rack makes the accessory system easy to set up and easy to rearrange.
- The pivot: Swinging the bikes flat against the wall is where the real space savings show up.
Cons
- Height planning is on you: Bikes hang at different heights depending on wheelbase and tire size. Mount a fat tire rack at the same height as everything else and you will be redoing it.
- You need to handle the bike: Getting a heavy ebike up on its rear wheel takes some practice and a bit of strength. It is worth trying with your own bike before you buy.
- Cost adds up: At $134.99 each, a wall of these is a real investment, and the GearMate accessories are extra.
- Tight spacing means contact: Packing racks close together saves space but the bikes will touch a little.
Conclusion: Is the Steadyrack ProFlex Right For You?
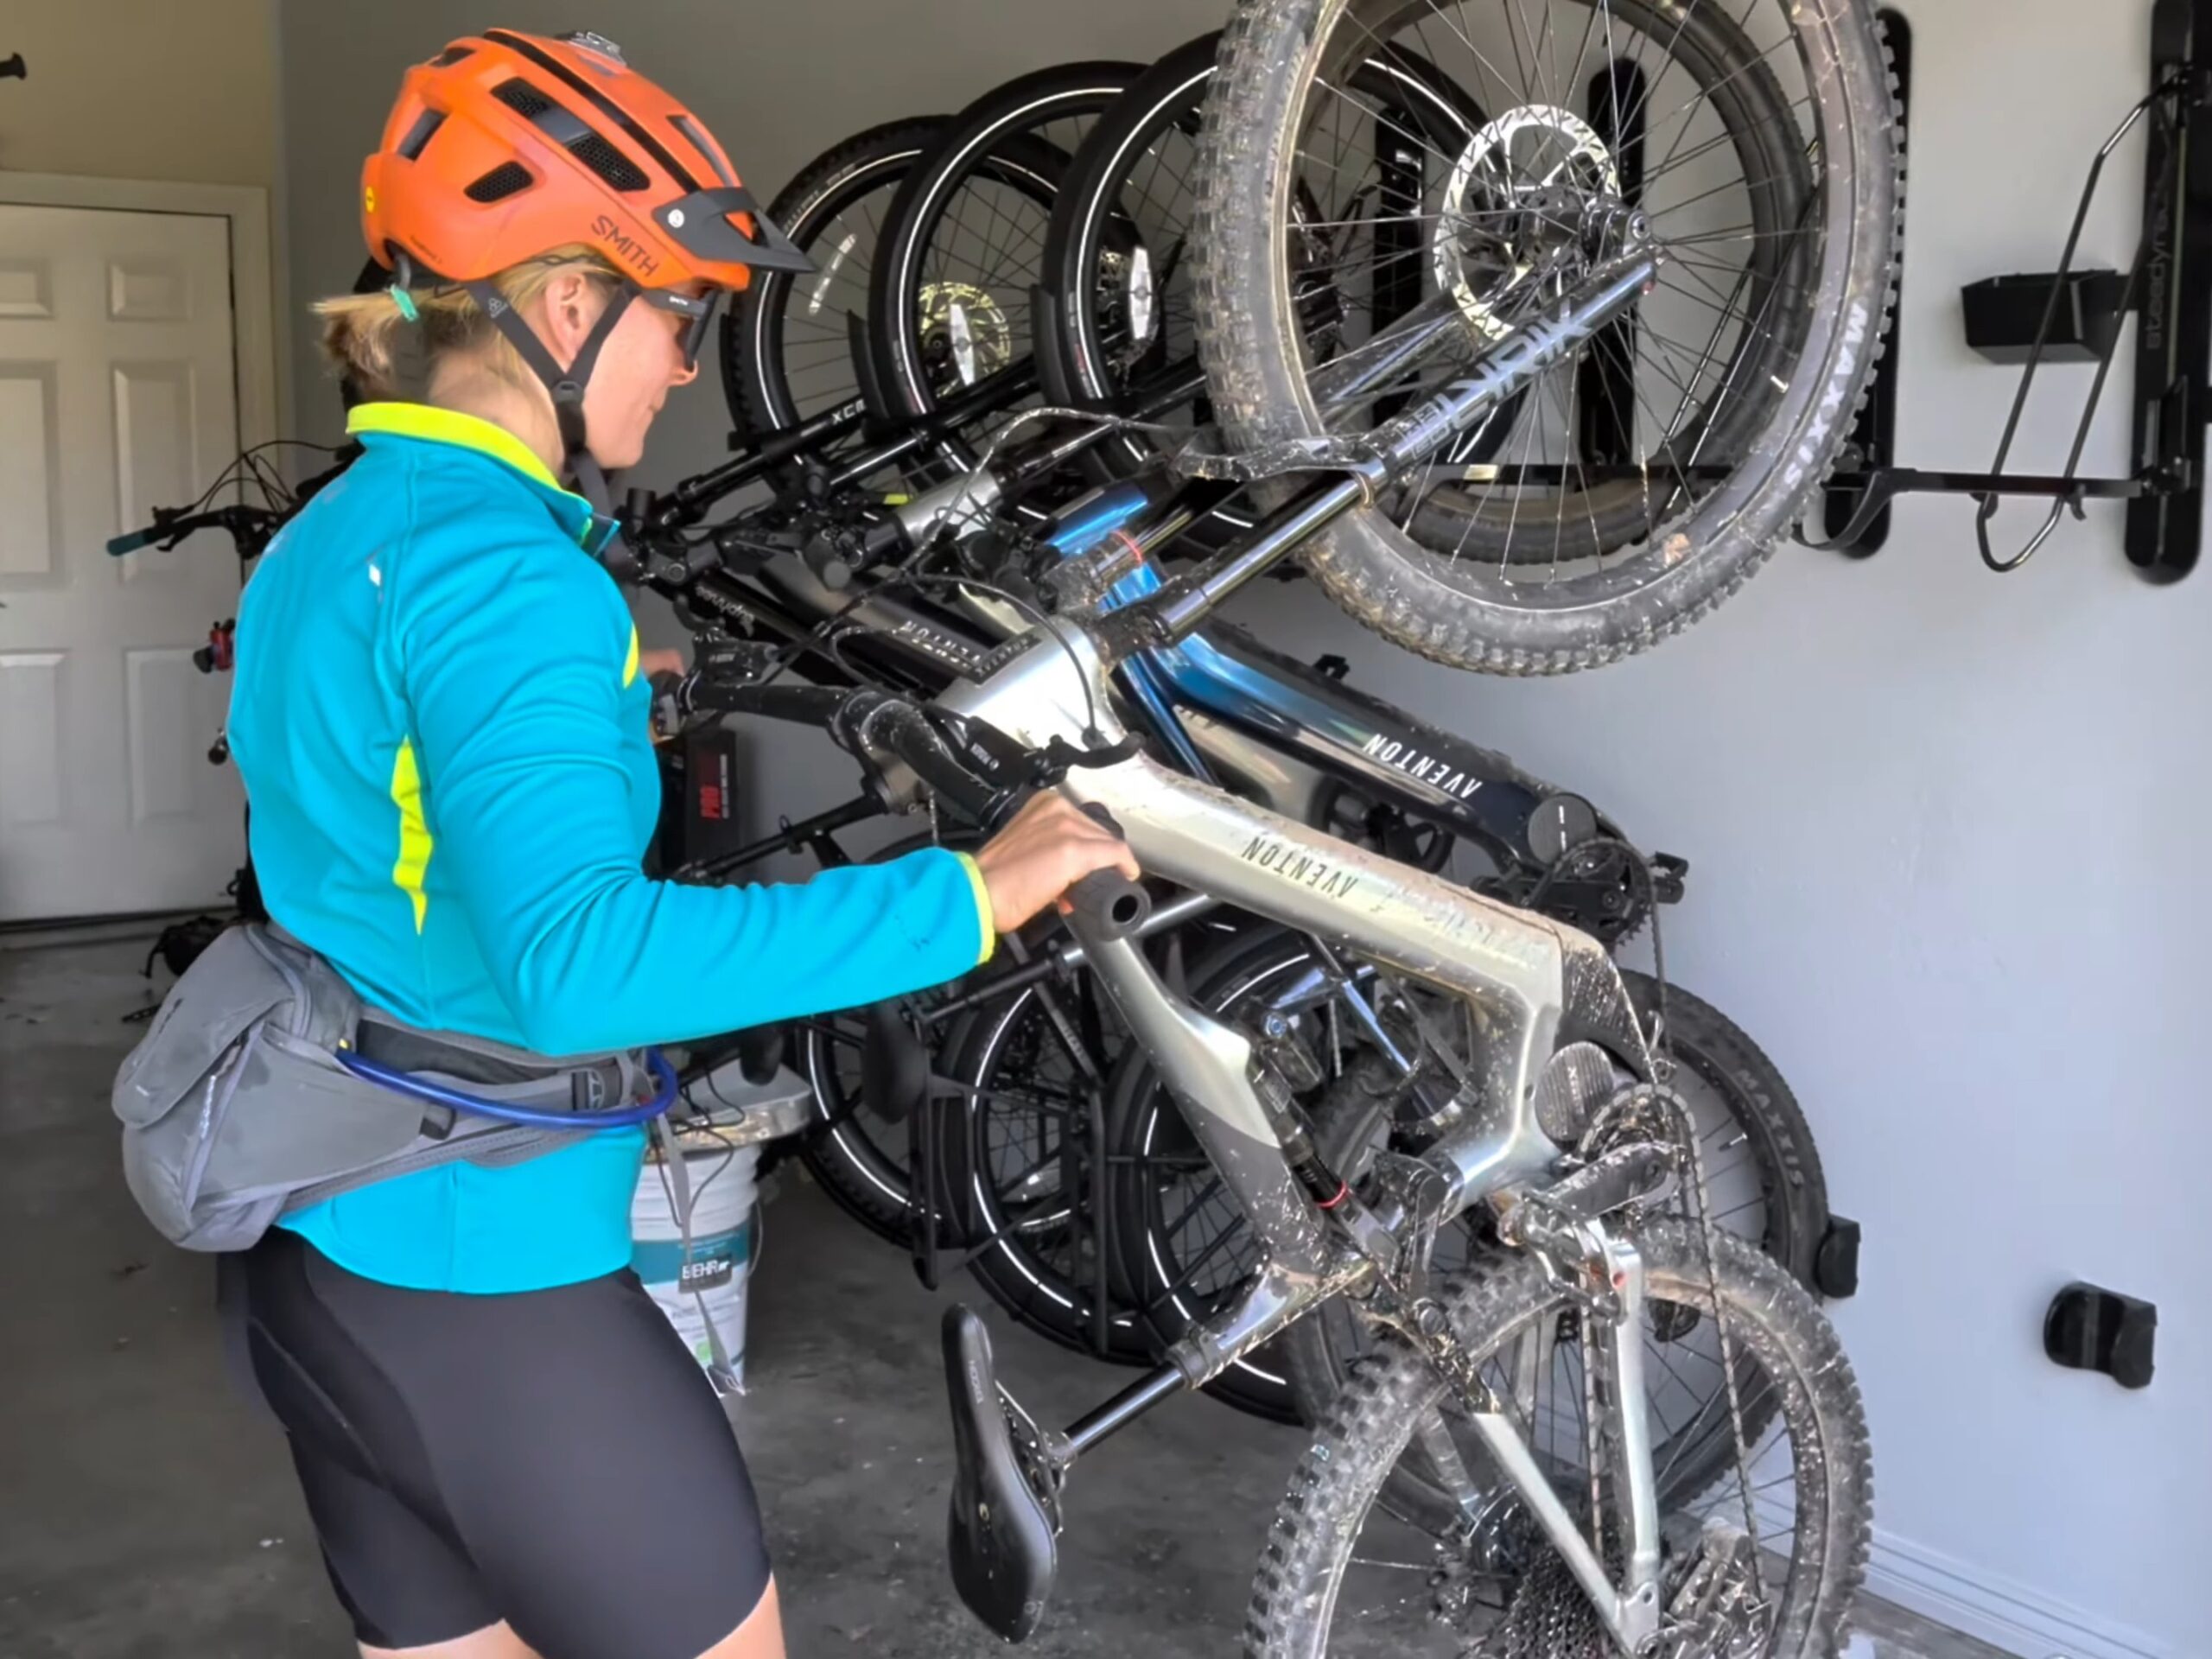
We have been using Steadyracks for years, so we came into this already sold on the concept. What the ProFlex fixes is the specific gap we complained about the first time around, which is that you used to choose between fender clearance and weight capacity. Now you get both, and the GearMate system turns the wall into actual storage instead of just a place to park bikes.
If your garage floor has disappeared under a pile of bikes and gear, and you are comfortable maneuvering your own ebike onto its rear wheel, this is the setup we would point you toward. Plan your heights carefully before you drill and you will not have to do it twice. For us it has been a legitimate transformation of the space, and it is the first part of a longer garage project.
If this was helpful and you decide to pick some up, our affiliate links for the Steadyrack ProFlex and the GearMate are a free way to support the site. We appreciate it.
